Render Test
Before I do anything related to creating a 360 VR environment for the sequence, I had to figure out how to create a 360 camera in the first place. Thankfully, it’s straightforward to do. I got started by injecting a plane into the viewport.
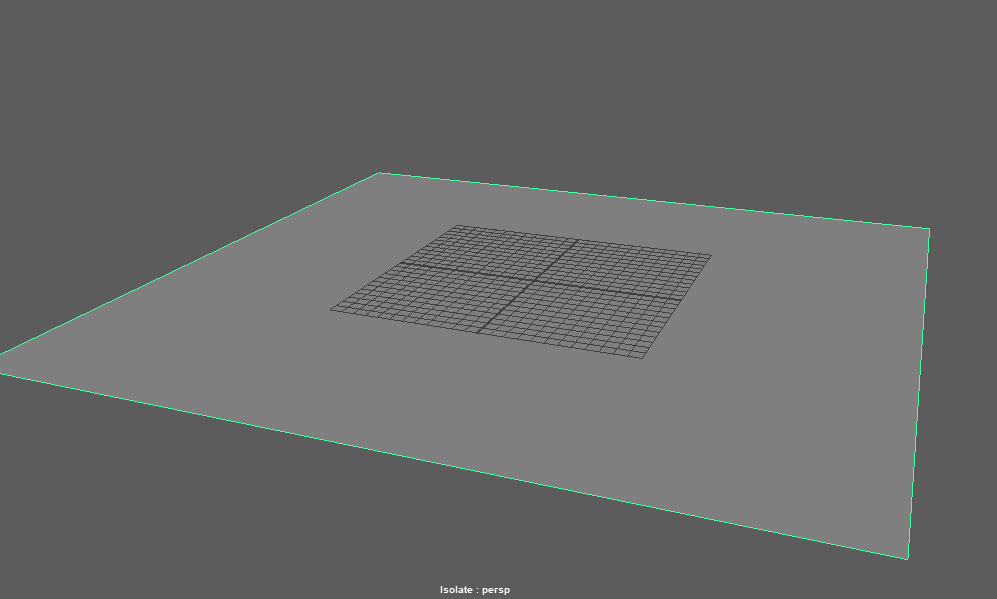
I created a few basic meshes and keyframed each one, so they all move up and down along the animation timeline.
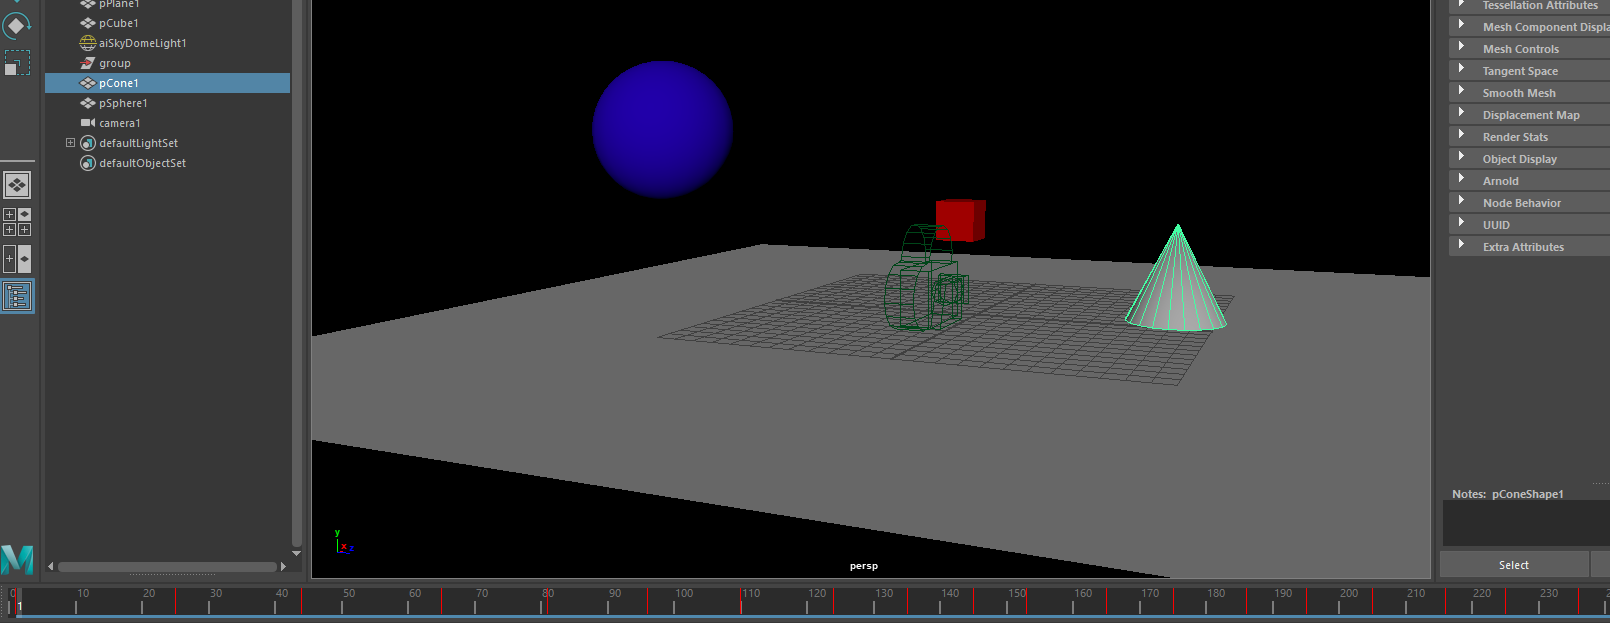
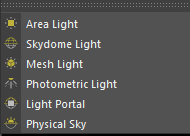
Being able to see what is in the render test is vital so I had to create an Arnold Physical Sky for everything to be automatically seen through the camera lens.
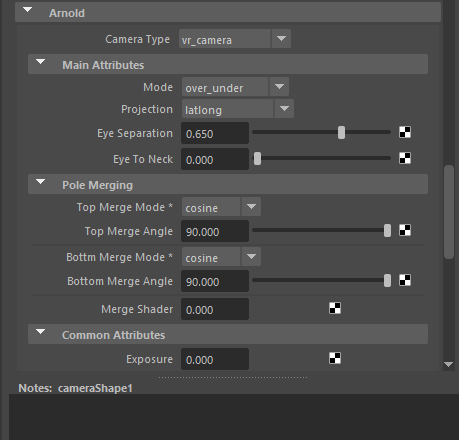
And then following through what is required for a VR Video to show in the right circumstances is also vital. I made sure to switch the camera type to that of a vr_camera and change the mode to over_under for this reason.
After rendering the 10 second clip, I imported it into Premiere Pro and made sure to export it out as a VR Video, with the same over_under settings before uploading to YouTube.
Bifrost
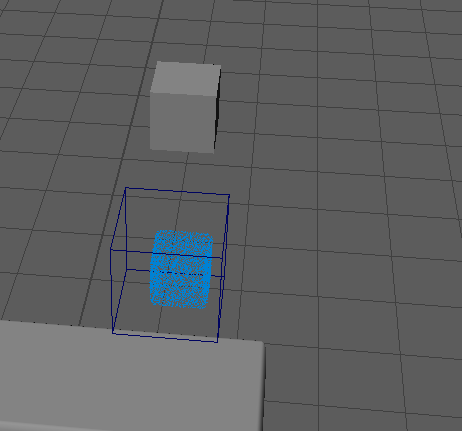
This experiment was a bit more demanding to perfect, since I had to do things in specific orders to get right. I hovered over to the FX tab and selecting Bifrost Liquid to turn the simple cube into a liquid.
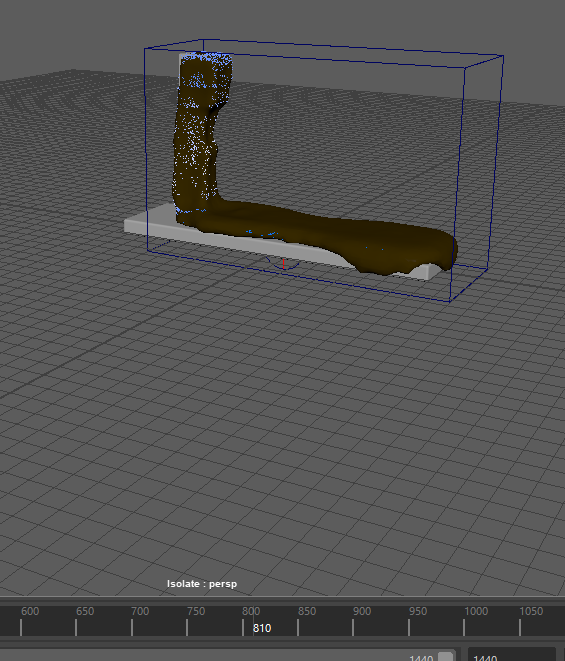
The liquid passes through the chocolate bar, so I had to add a killplane to stop this from happening, and a collider for the liquid to stay on the bar.

Changing the viscosity to a high number grants me this result, which looks much better for what I’m going for.

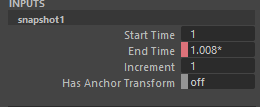
I wondered how I was going to get the Bifrost simulation starting at the specified frame I wanted it to begin at, but I managed to solve the issue (Manoloti, 2019)
Why would this apply to me?
I will plan to use some Bifrost techniques into my sequence, such as the liquid within something like a wine glass or a cup for example to show the true scale of how the viewer will interpret the Bifrost fluids.
MASH
This feature was fairly easy to understand as it’s essentially Maya’s own version of motion graphics. All I had to do was create a MASH network from a single polygon and choose from a variety of nodes, but I had just decided to go for the standard Distribution node and tweaked its settings before animating it. To do this, I set up a camera to use for the rendered output.
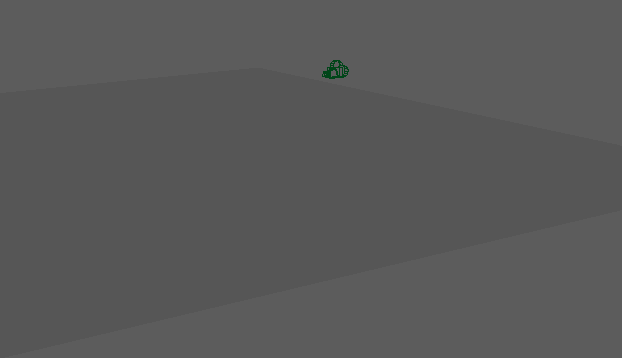
I’ve also added a physical sky for the camera to pick up the lighting, otherwise everything will be pitch blank.

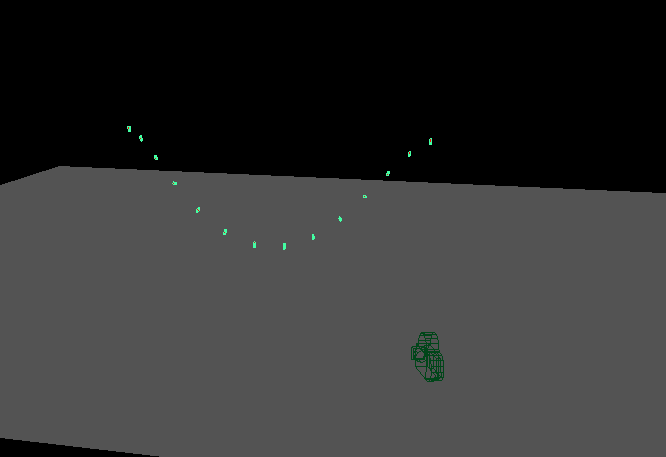
For this exercise, I only wanted to manipulate the Distribute node for the polygon to be duplicated and shaped in a swirl-like pattern. I have also moved the camera for some dynamic movement.
I have used the render farm for this video as well since it takes a lot faster than the Arnold method.
How this would apply in my sequence
I plan to lean heavily towards using MASH elements in my project. I want to incorporate it when a potion is floating in mid-air as the MASH network surrounds it, and also when another potion is duplicating.
BOSS Ocean Simulation
It’s simple to create something like this, as seen with the materials on Canvas that demonstrates this. I can simulate an ocean using this method.
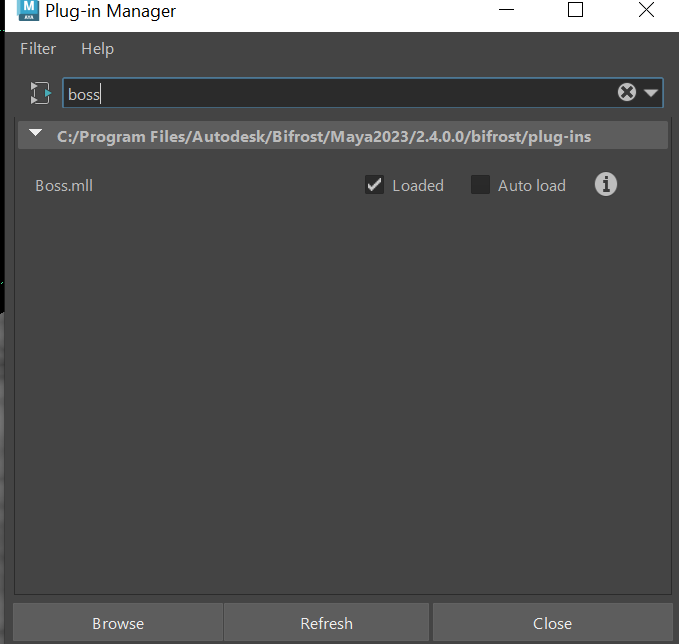
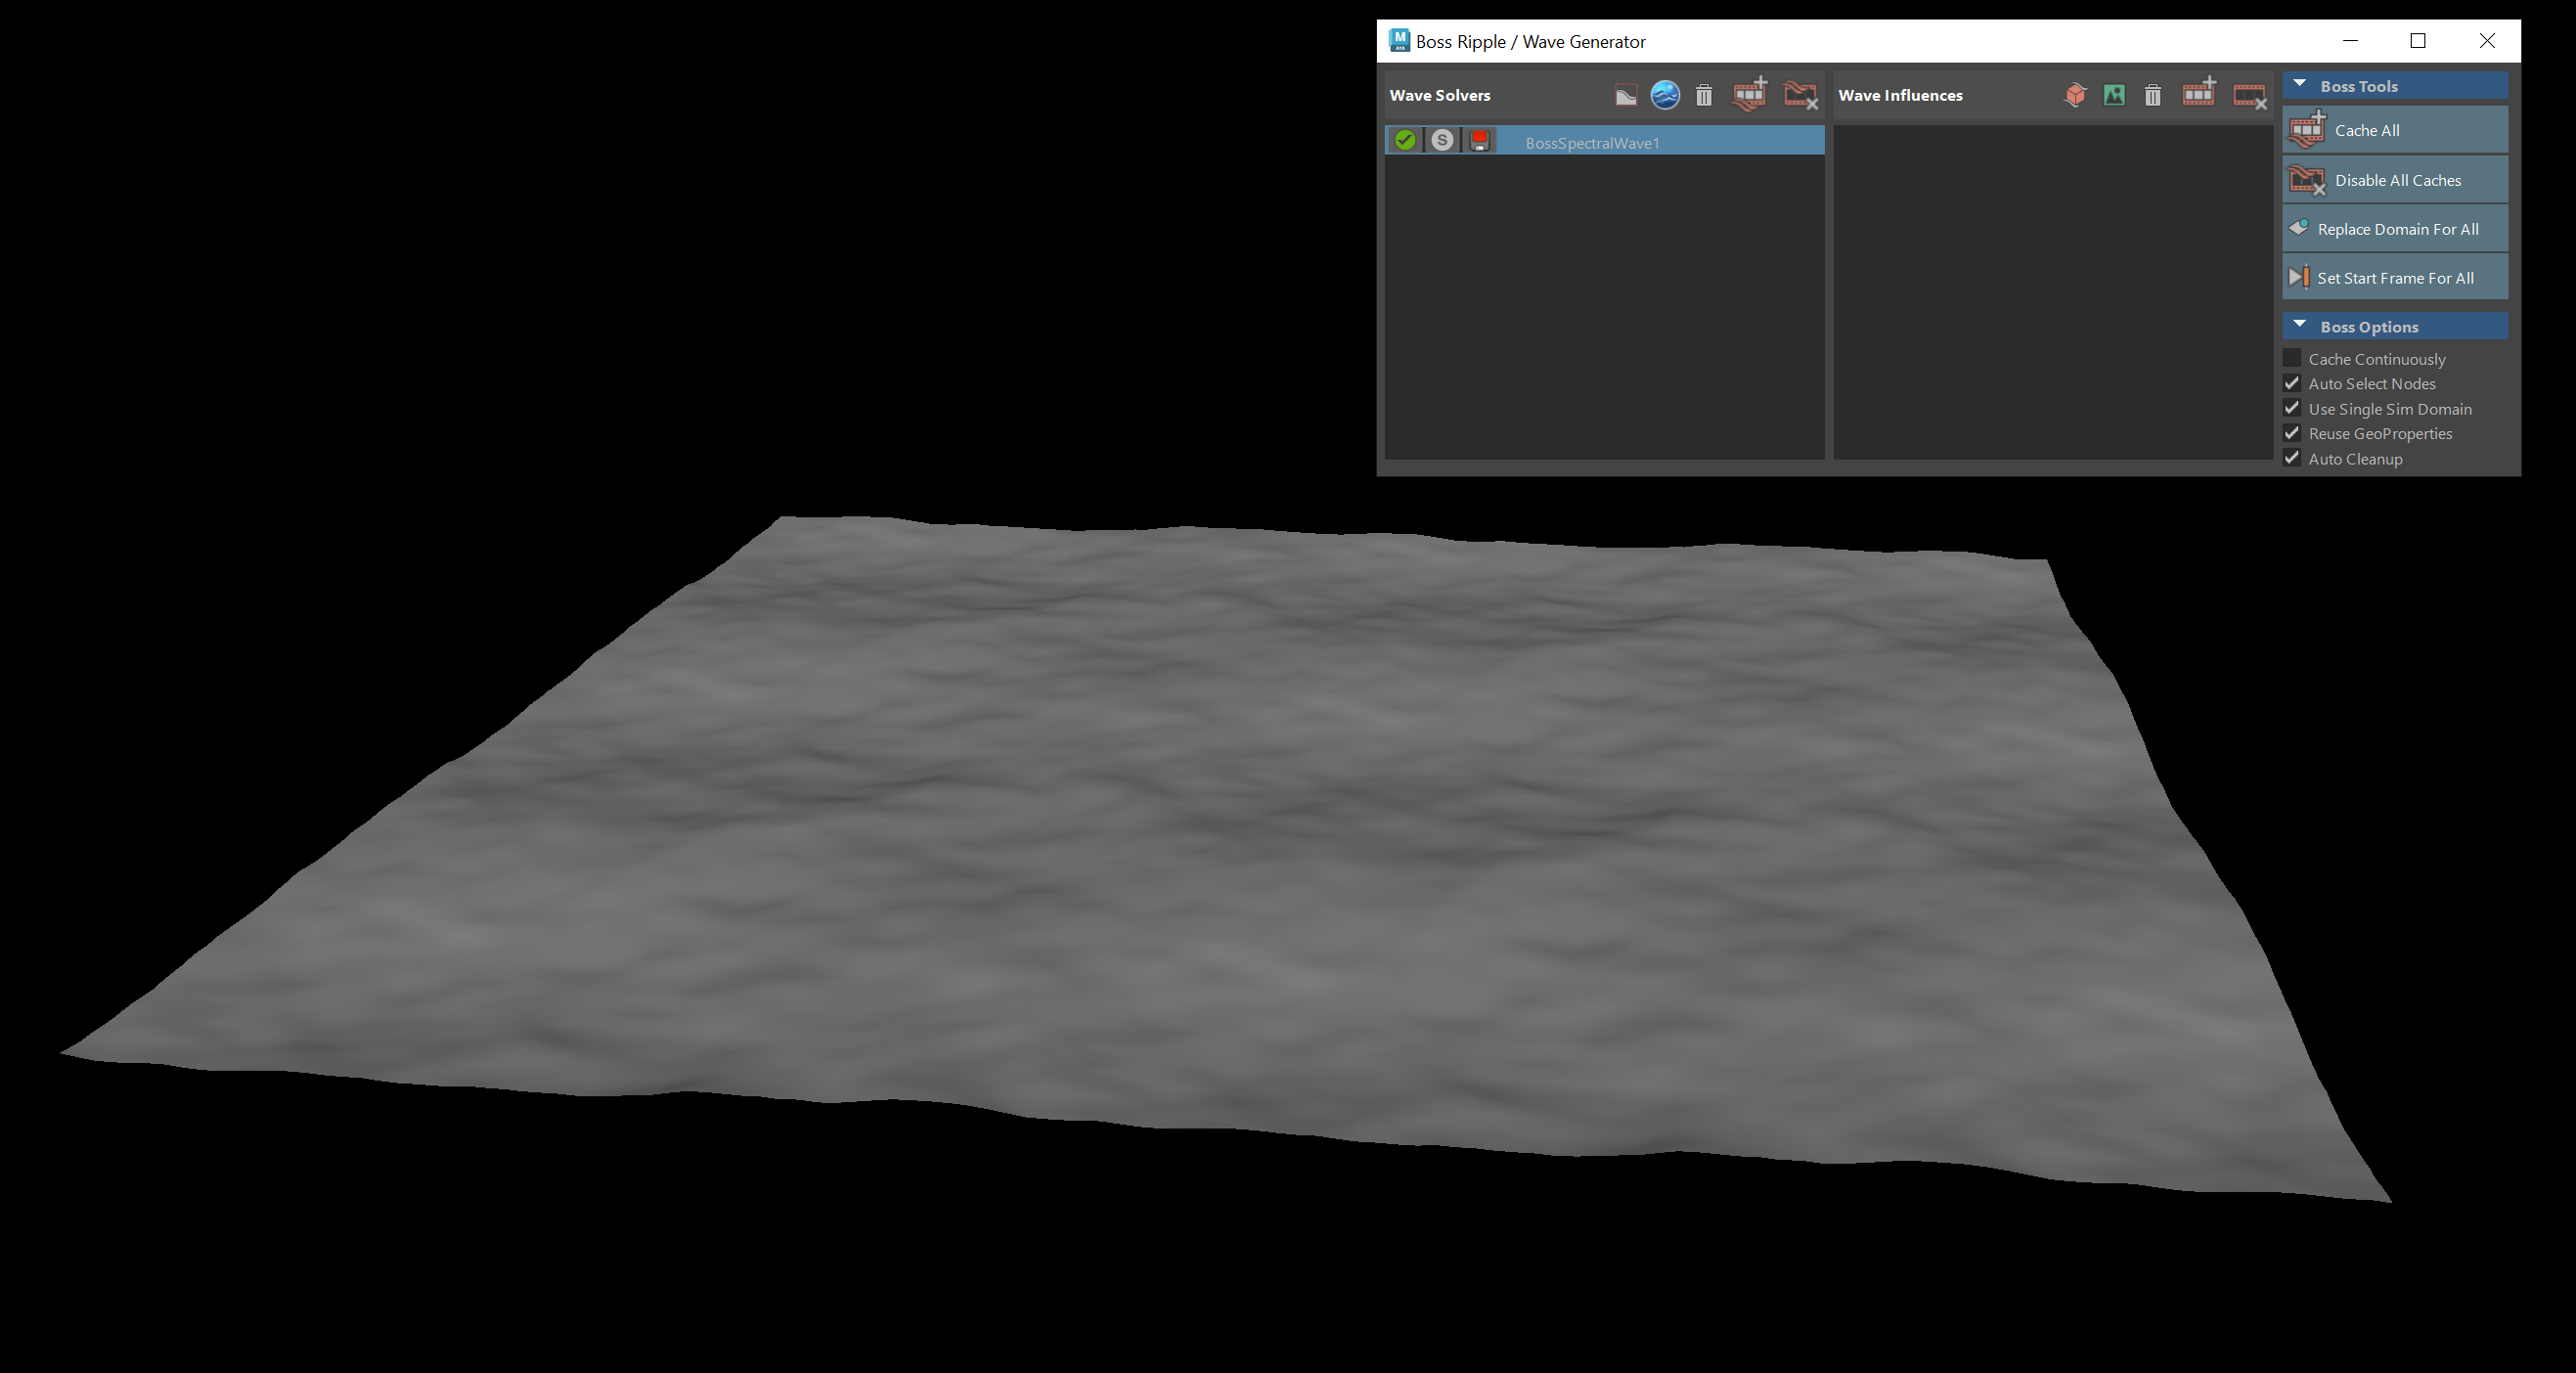
I started out with a single plane and increased the polygon count before applying a BOSS wave simulation for this result.
It was just a matter of tweaking the settings in the attribute editor to include the foam. This way, the ocean can be more realistic.
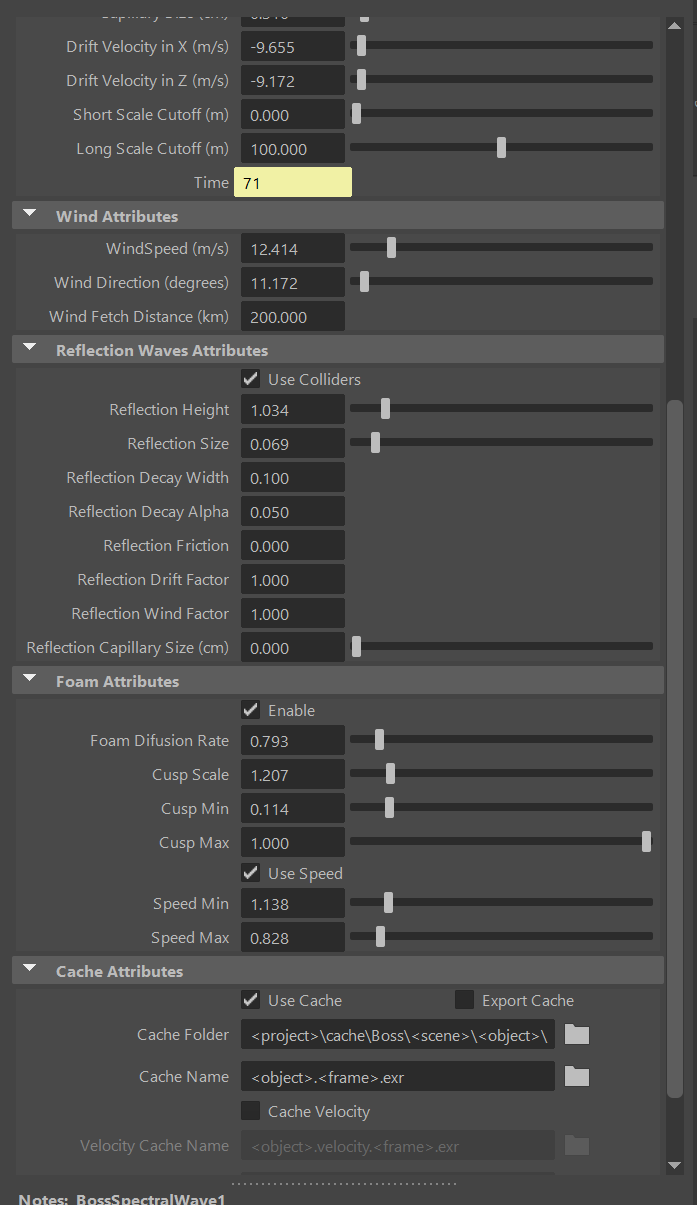
When I look back in the viewport, I can now see that the ocean matches the changes I have made.
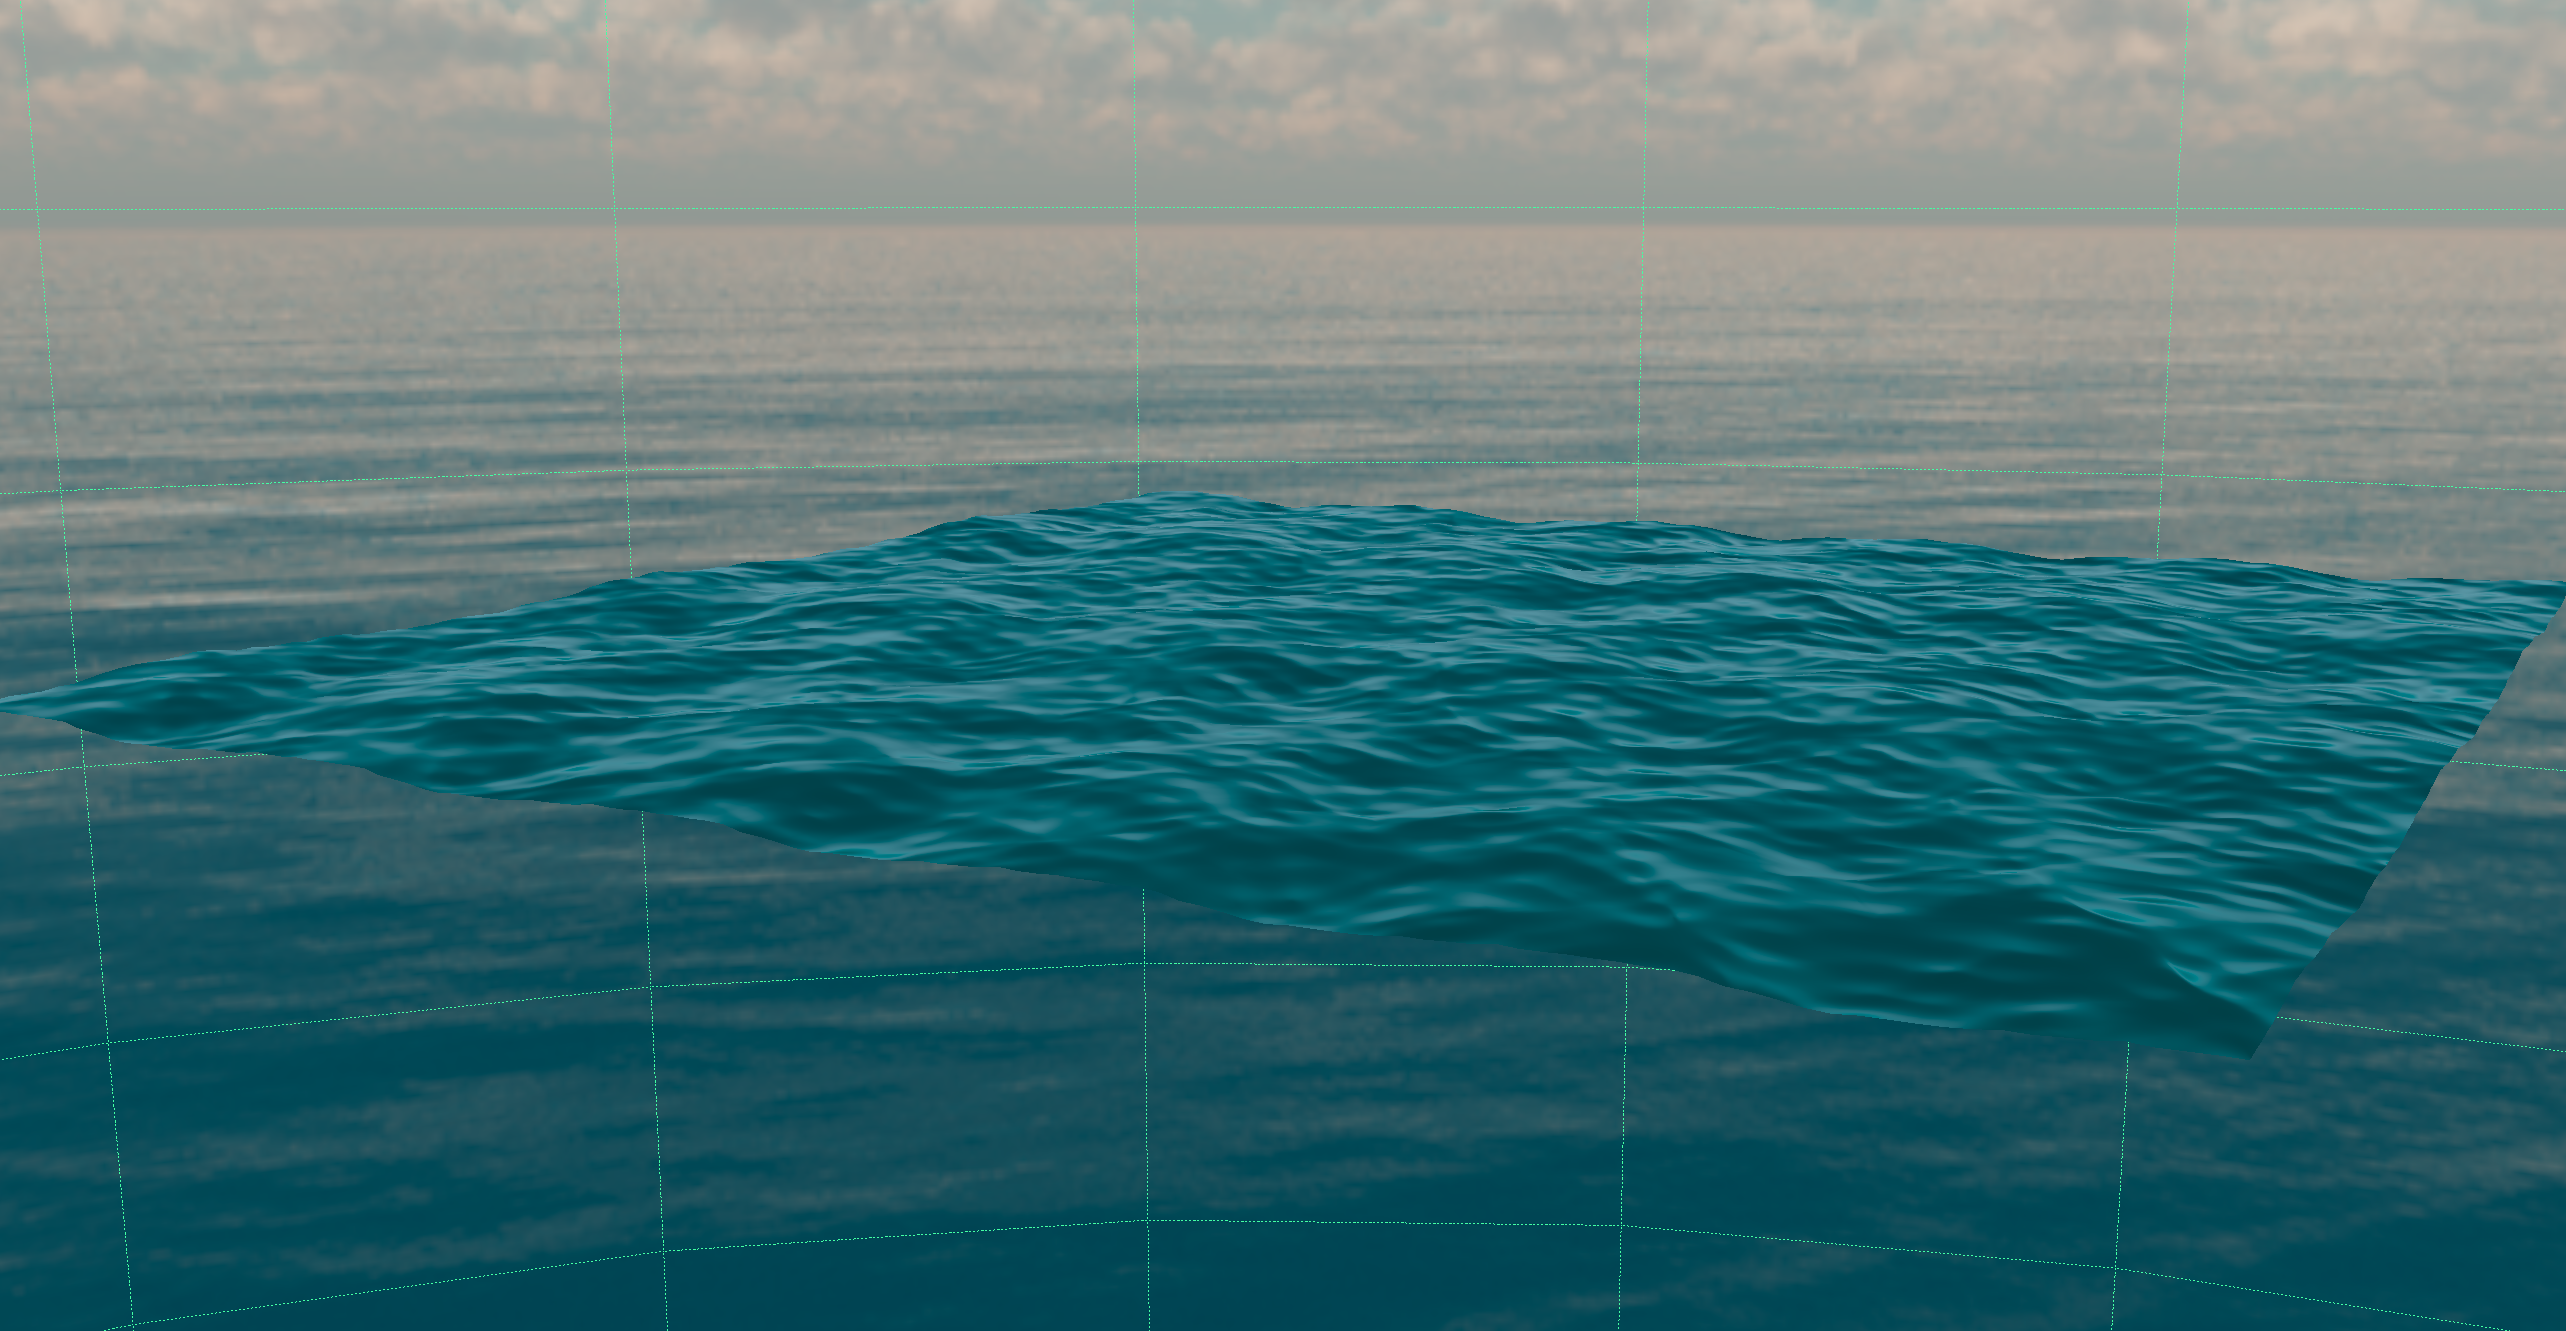
Caching this would be significantly easier to reduce the size of the scene, while also keeping the same quality of the ocean. I have used the Viper renderfarm to quickly compile the finished render together.
Locomotion Techniques
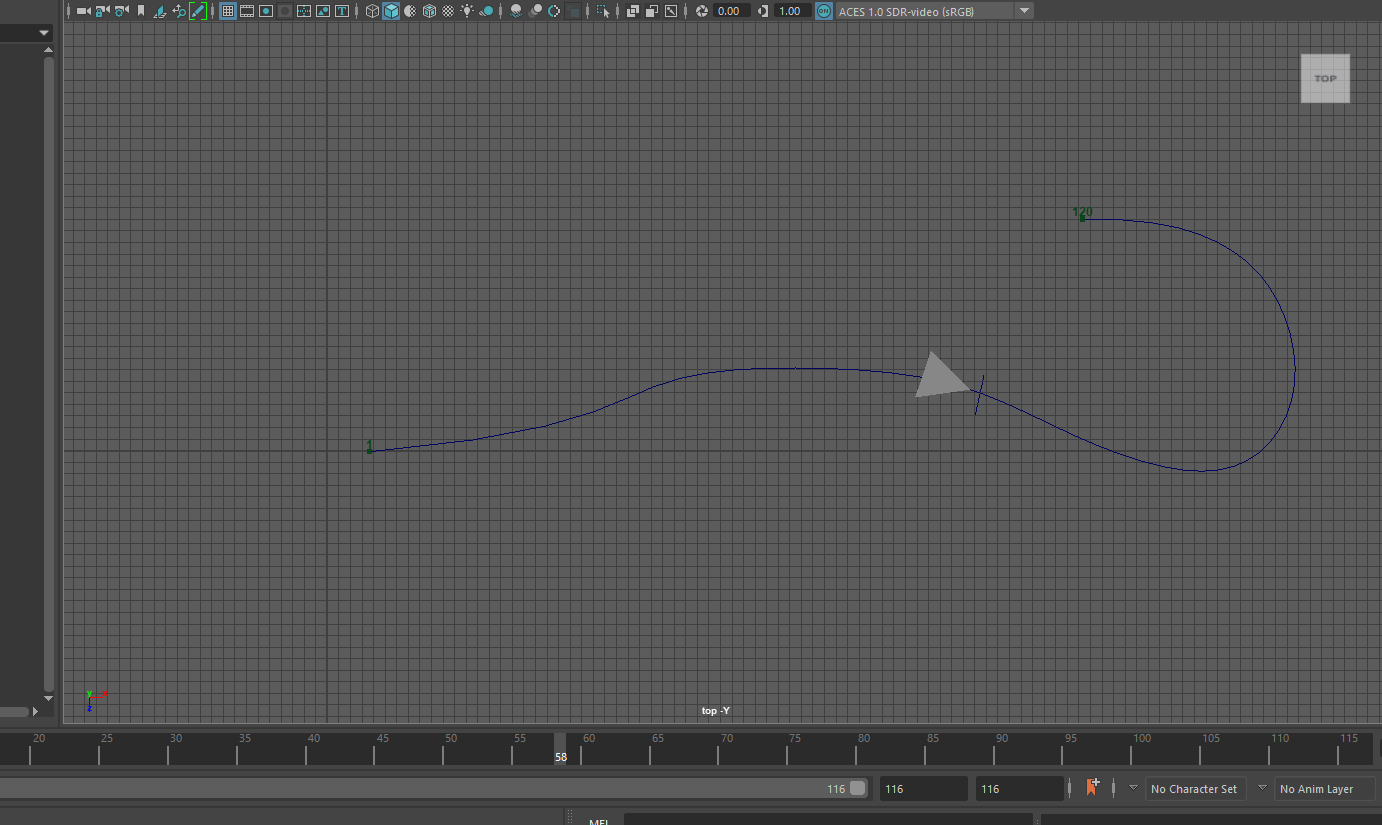
To get started on this, I wanted an arrow to move along a curve to signify the player wanting to move from point A to point B.
I then made sure to follow what was on Canvas to make the animation as smooth as possible. You can see the results here.
How will this apply to my own project?
I plan to have some elements of the experimentation incorporated into the project, such as the MASH networks and the teleport locomotion. Having these will impact the quality of the scene rather than it being an additional element.
References:
Manoloti (2019) How can I move a former cached liquid simulation in the timeline? Autodesk Forums. 21 November. Available online: https://forums.autodesk.com/t5/bifrost-forum/how-can-i-move-a-former-cached-liquid-simulation-in-the-timeline/td-p/9160147 [Accessed 2nd May 2023]