Beginning with the immigration desk, I’ve thought about adding some nice detailing to some of the textures, with this plastic diamond exterior as a start.
I have applied some plastic and steel materials to the rest of the model to give it a nice appearance. To finish off the asset, I put glass over the window area, which could be done in Unreal.
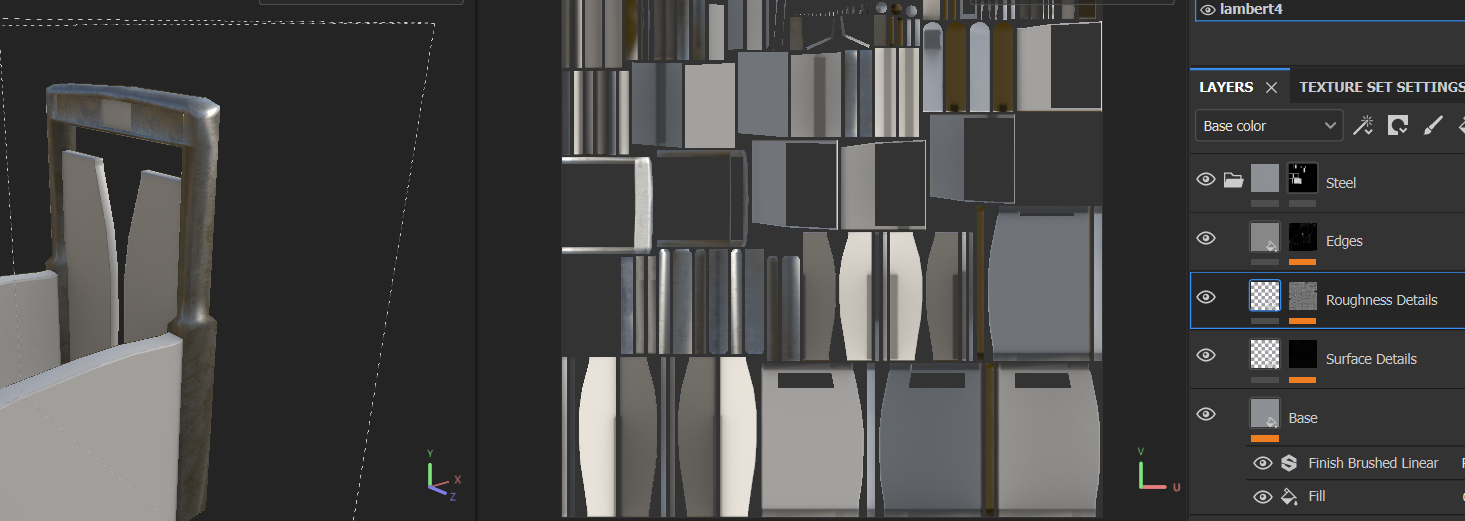
I followed the same process with the other assets I had yet to texture. With some assets needing alpha masks and text to stand out.

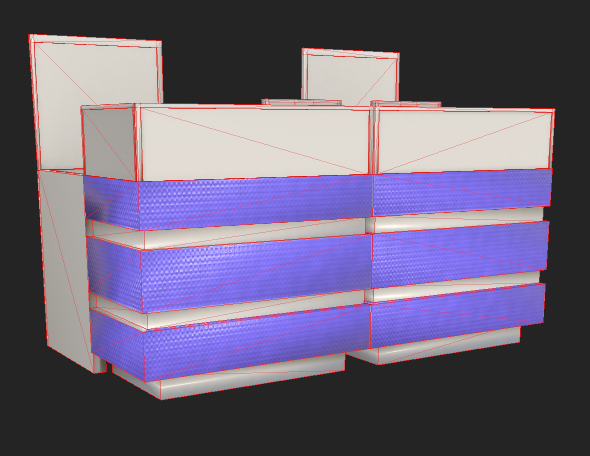
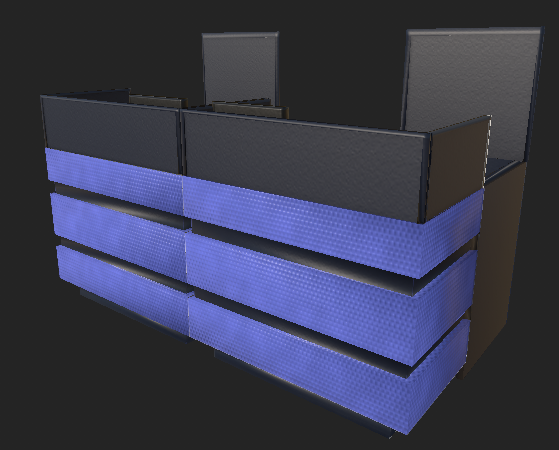
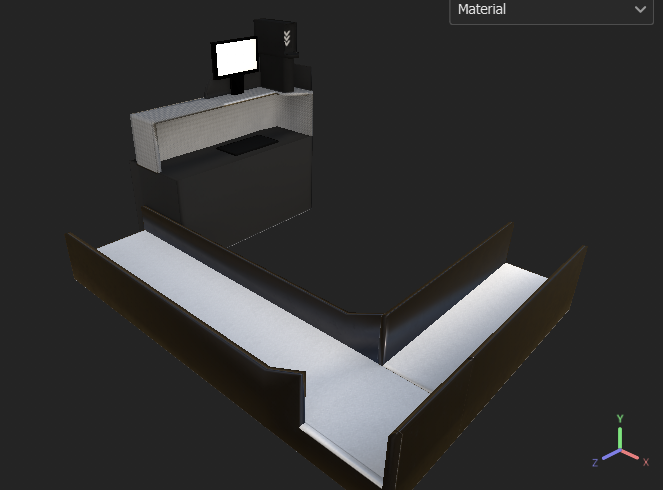
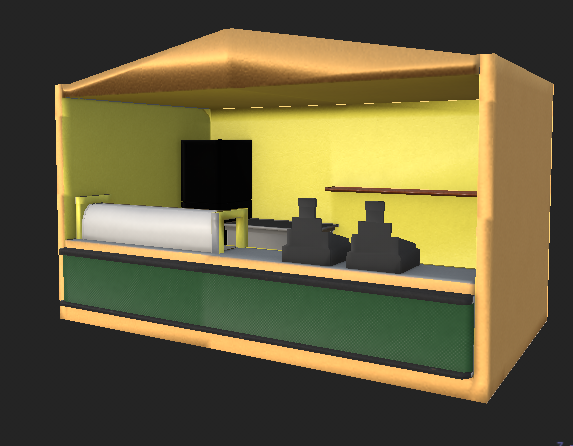
Bringing the reception desk textures over to Maya, I had to follow the same steps as I’ve done previously to get this result. But for some reason, the monitor and the conveyor belt walls are a different colour to what was shown in Substance.
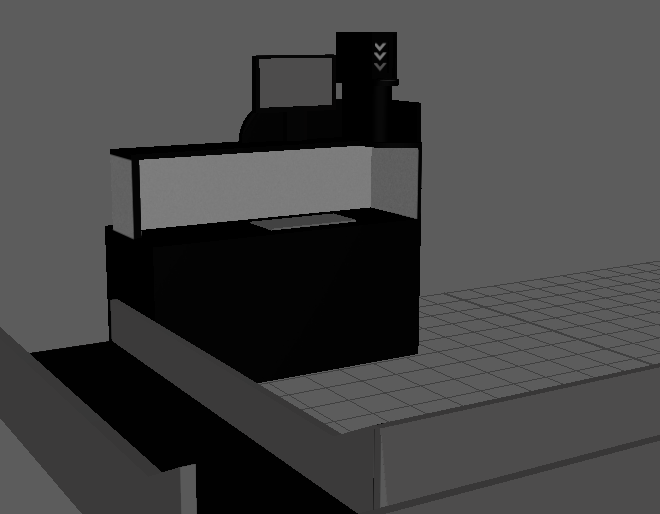
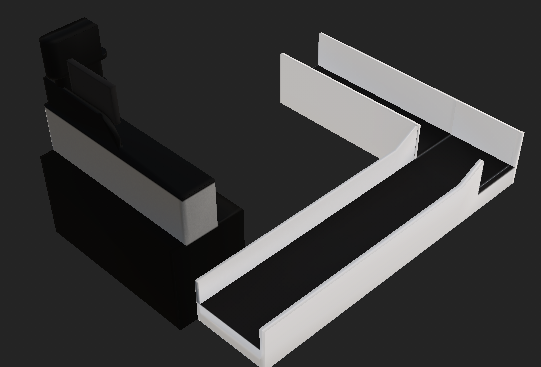
It turns out I hadn’t properly UV’ed them, so I restarted the process and got them properly UV’ed to texture them.
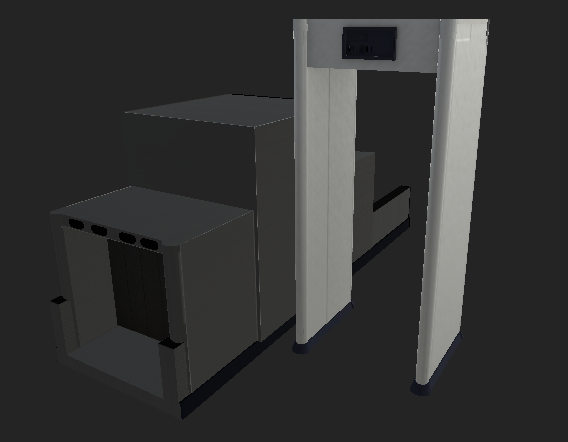
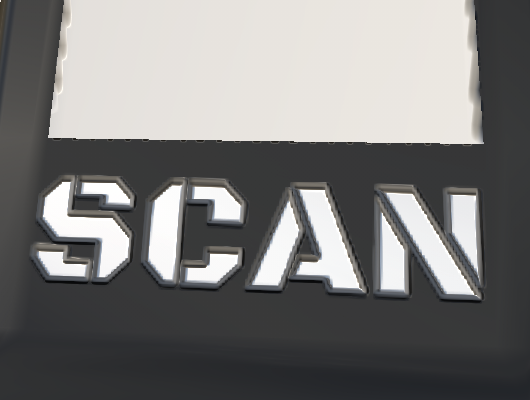
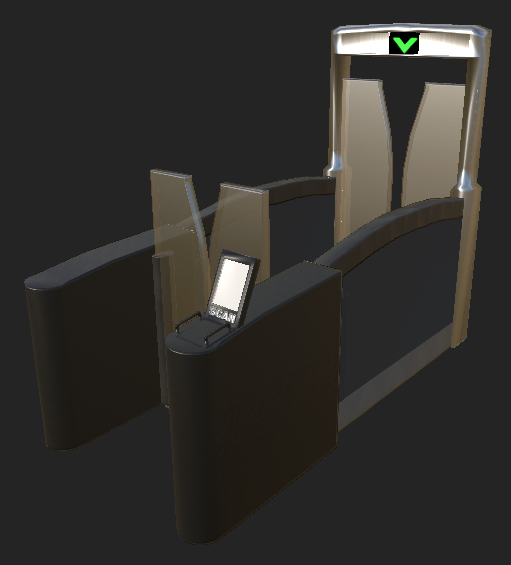
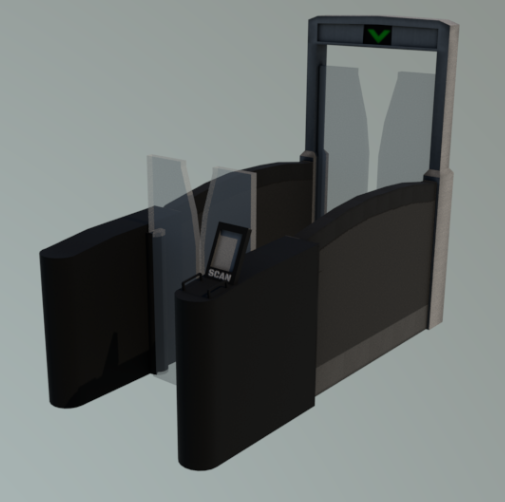
I wanted to include some text on the ticket machine asset, primarily on the scanner for people to go through the gates. This method was inspired by WorldofLevelDesign (2022). I wanted to give the text some character, so I increased its height map and gave it an outline.

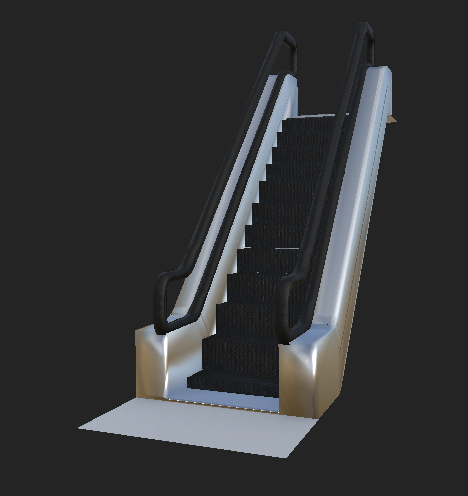
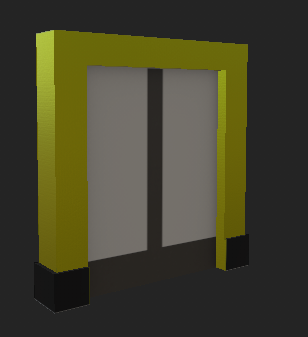
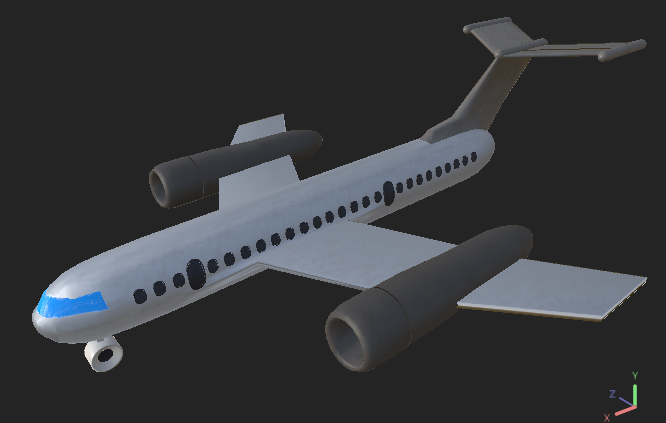
It was only a matter of texturing he other assets now to give them some life, including the kiosk, doors, escalators, seats, and the airplane.

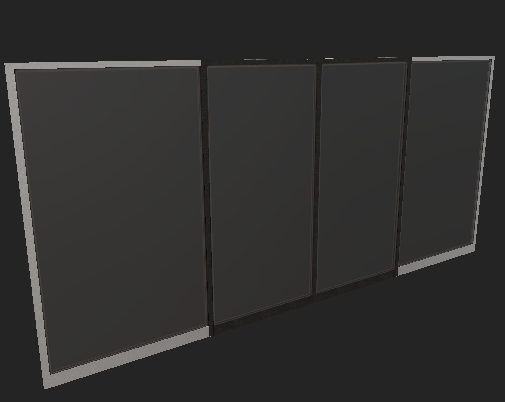
I attempted to learn a new UV technique by projecting a 3D plane to create the UV map (On Mars 3D, 2020), but I had some trouble with the way the UV’s were set out, so I did the simple thing of applying an automatic UV to the asset and carefully texturing each UV tile to their correct materials.
References:
WorldofLevelDesign (2022) Substance Painter: Guide to Adding Text/Font and Alpha Design Logos [Video] Available online: https://www.youtube.com/watch?v=LZtm2i_FHzs [Accessed 13th March 2023
On Mars 3D (2020) UV Map Anything in 5 Minutes with Maya [Video] Available online: https://www.youtube.com/watch?v=t5Co6SuzoQw&t=482s [Accessed 19th February 2023]