Before I begin to properly sculpt the details in. I got to show how an image of a skull can really help define the areas of the face such as the nose and mouth. It also defines the general shape of the male head.
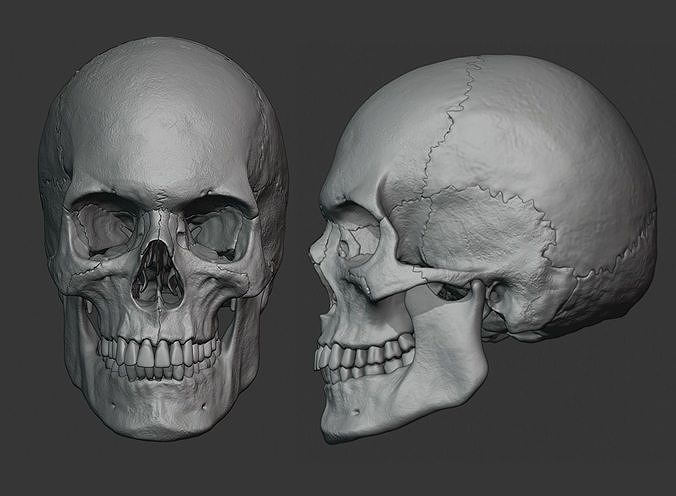
I also included an image of a male skull seen from different angles to know where to sculpt my details in.

Sculpting the Details
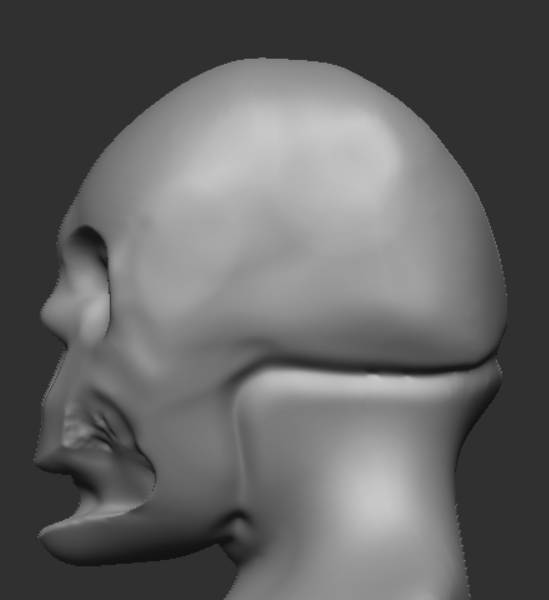
To start off, I needed to adjust the shape of the head and make it more human-like as you can see in the image below.
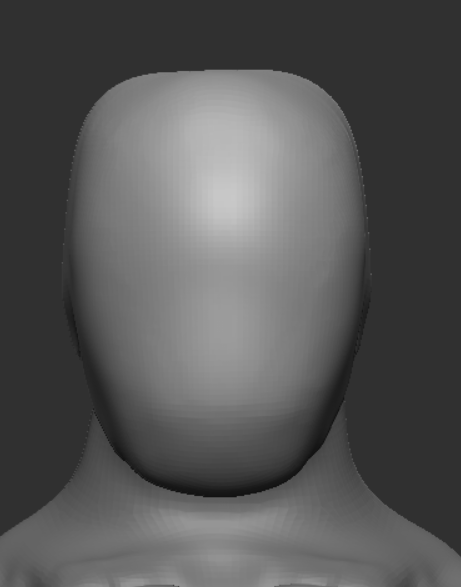
It also helped to make the head it’s own subtool and isolate it to focus on the skull sculpting.
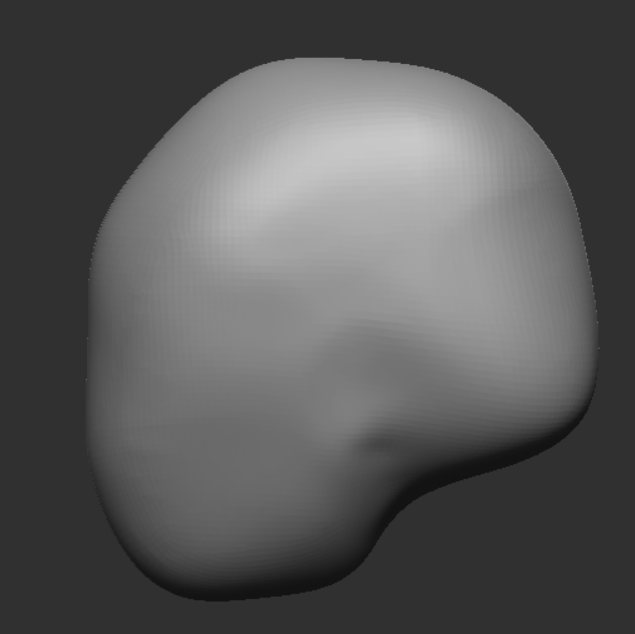
By dynameshing the skull and the neck to connect them and smoothing it out, I was able to start defining the skull lines where the ears will be.
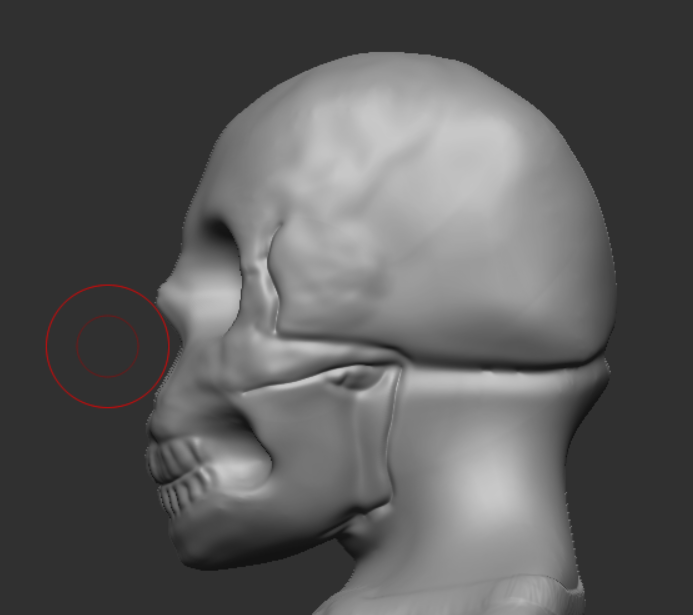
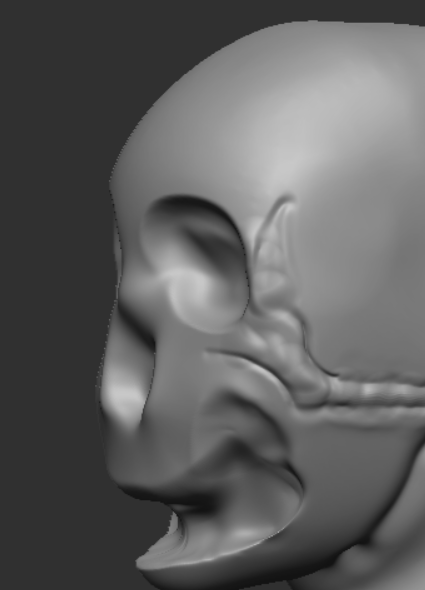
I also started defining more general lines of the skull using the DamStandard brush to create some indentations next to the eyes and mouth and on the cheek.
I attempted to sculpt the teeth using individual subtools, but that looked messy and ‘off’ upon looking back at it.
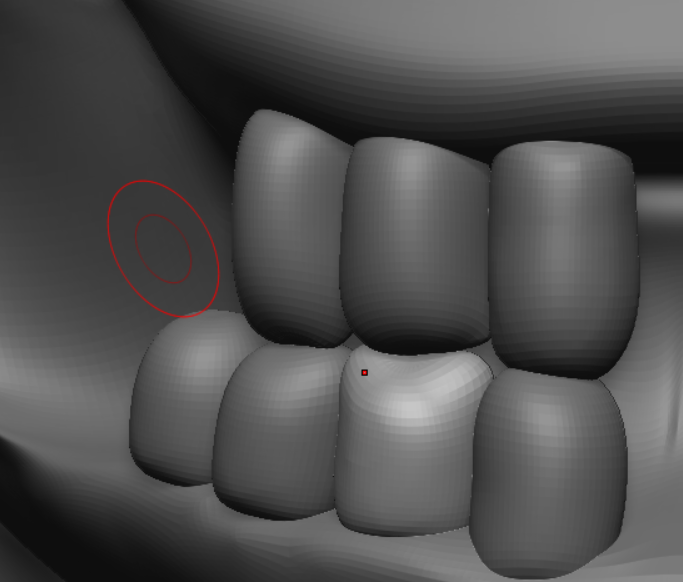
So I redid the teeth using the DamStandard/Clay brushes to sculpt something like this.
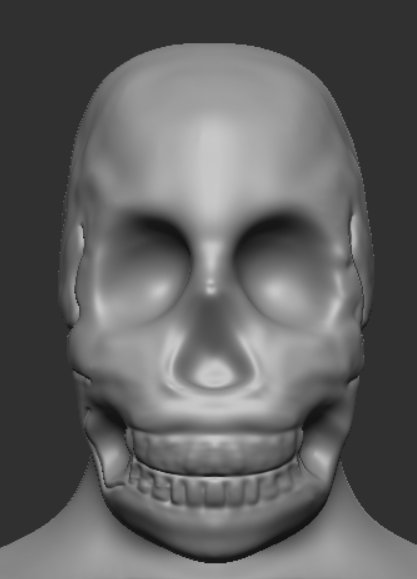
Here is the finished skull sculpt in the side view to get a better look at the defining lines and proportions.