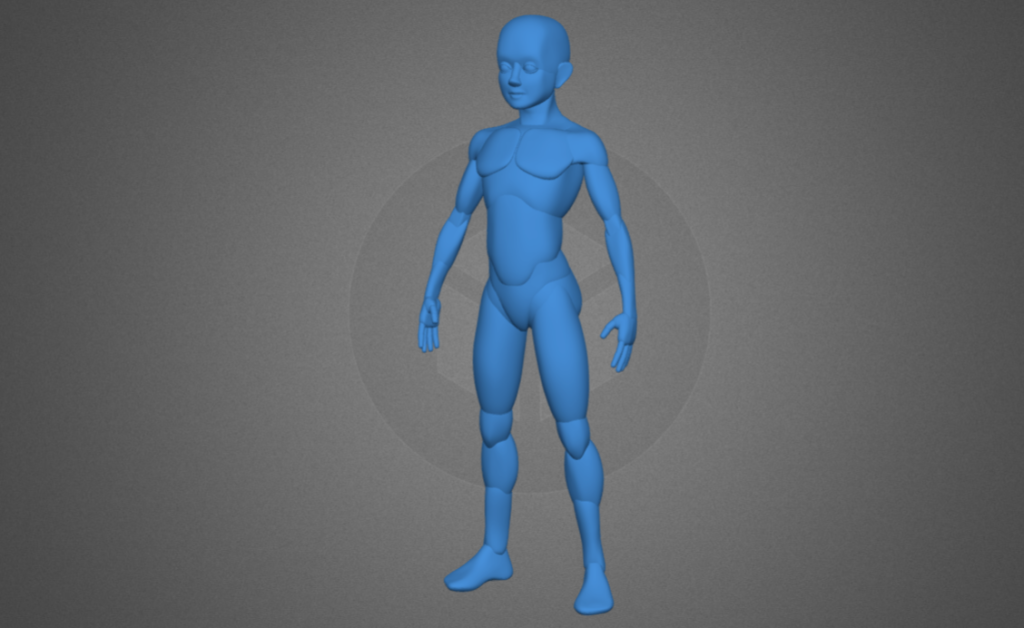
So I have a pretty solid idea of what I’m going to do in terms of body shape for my character. Below are a few reference images of the Basemesh that I’m willing to follow with. Here is the front view.
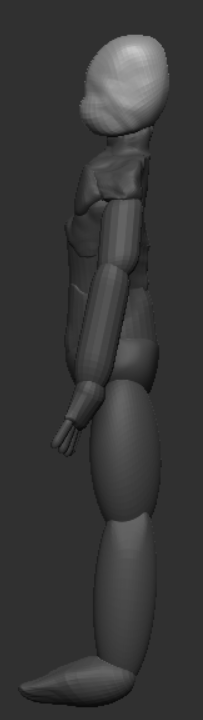
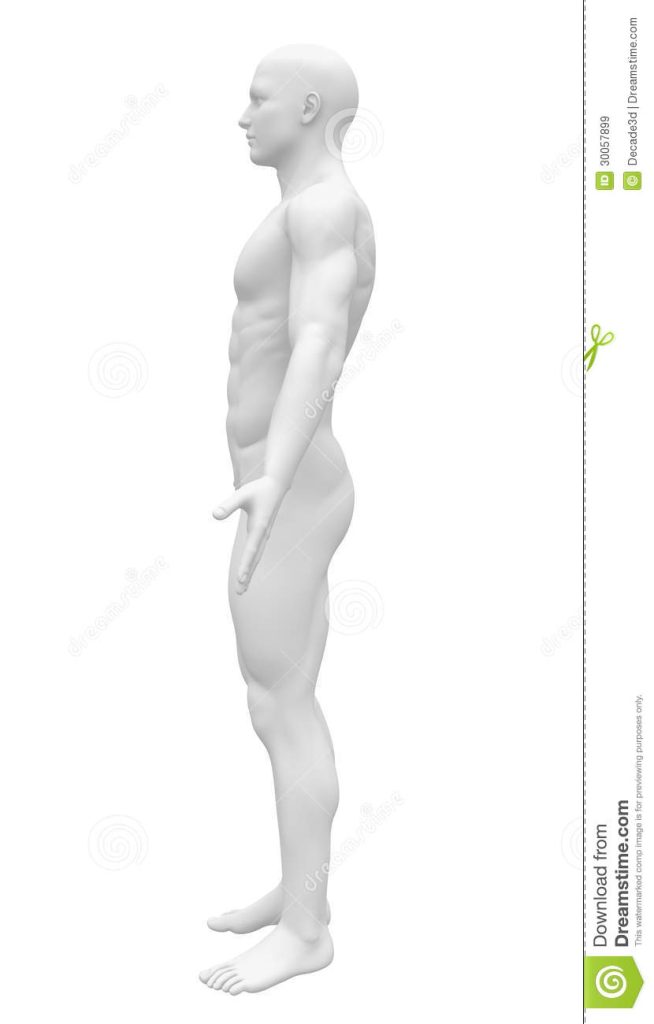
And a reference image of the same body shape but projected to the side.
Jumping Into ZBrush
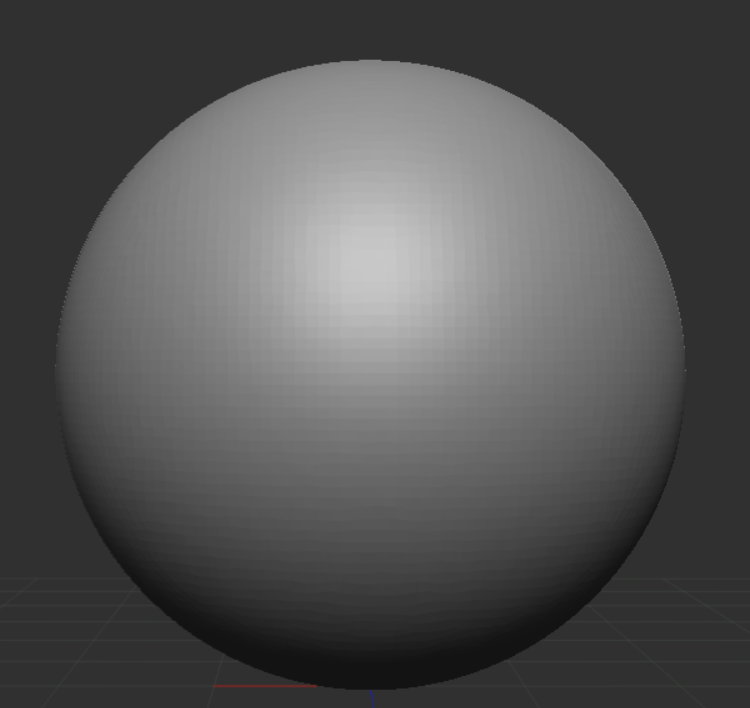
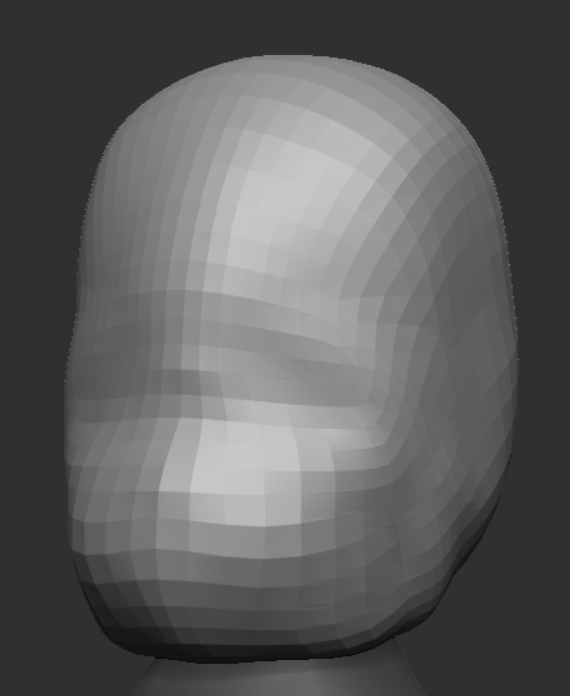
Now it is time for me to head straight into ZBrush and start blocking out the body for my character using primitive shapes. I started with a sphere and sculpted it into a rectangle for the face.
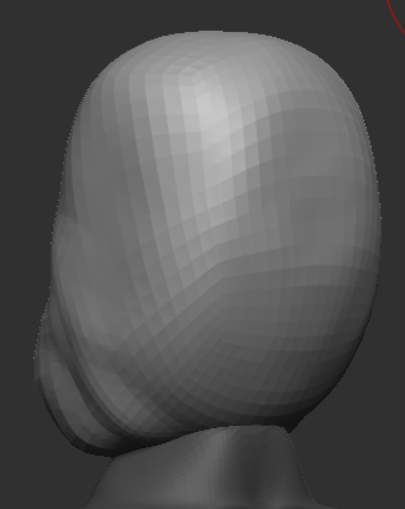
The chin area looks bad so I moved it outwards using the Move Tool.
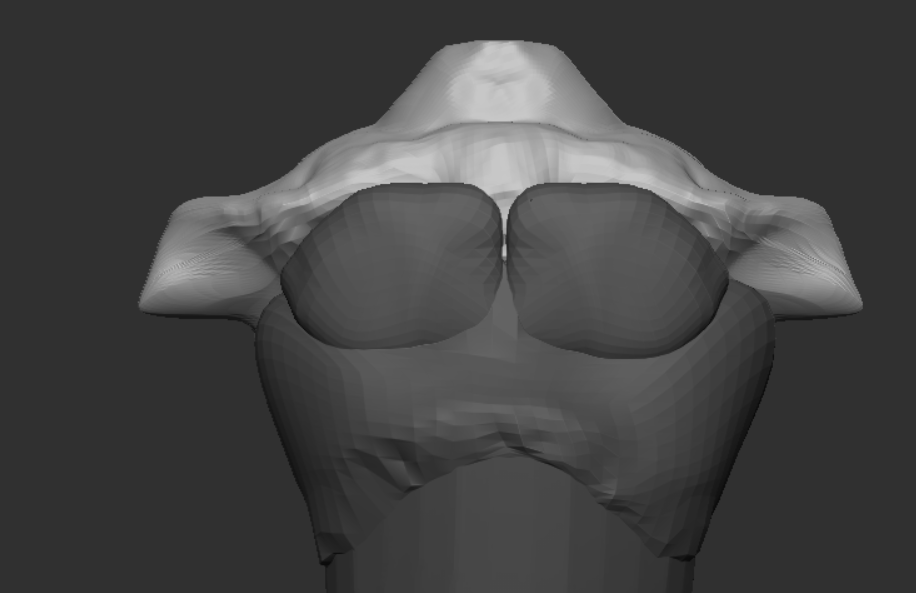
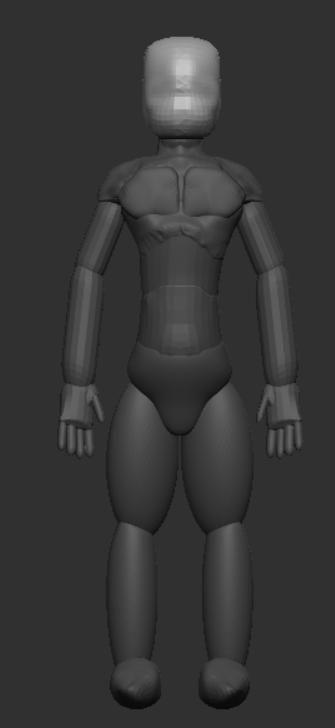
I merged multiple cylinders to make the torso and hid the head subtool. The image above details the area of interest, including stretching out the area where the arms meet the chest. I turned symmetry on and started blocking out the hands, fingers, and arms of the character.
I also blocked out the legs to make them look natural for me to go back and dynamesh later.
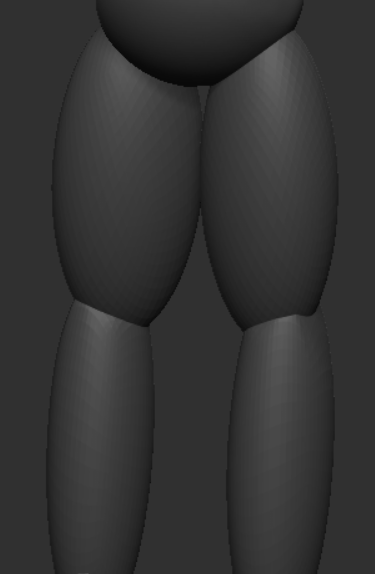
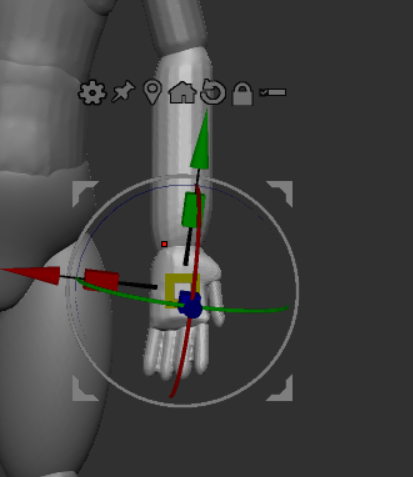
As you can see, I separated the hands in their own subtools so I can merge them with the arm subtools on their respective sides. I’ve also done the same thing for the thighs and lower legs too. I mirrored one side to make another so that the character’s shape stays symmetrical.
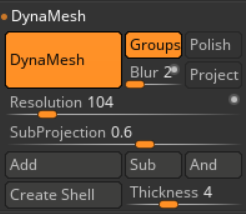
I’ve also dynameshed the subtools so that they stick together ready for smoothing out, ensuring I stick to a low poly count beforehand.
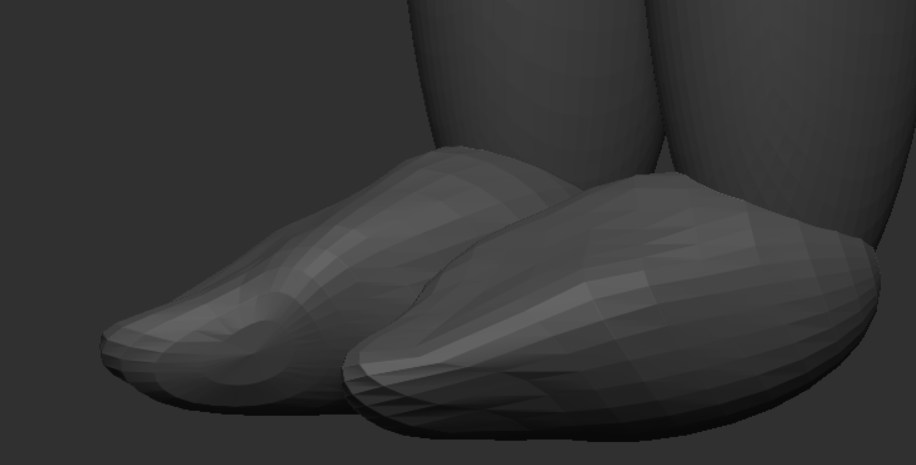
Now it was time to make the feet. My character will be wearing some shoes so the feet doesn’t have to look perfect. Here is a rough version, though I’m going to adjust them later on to make them look like actual feet.
This is the orthographic viewpoint of my blockout starting with the front view. I will get rid of the chest muscles when sculpting this in more detail. Also, the body’s shape looks more triangular, which is something I need to sculpt more into a rectangle later too.