It was time for me to add some detailing to the hands using some reference images to get an idea of what they look like.
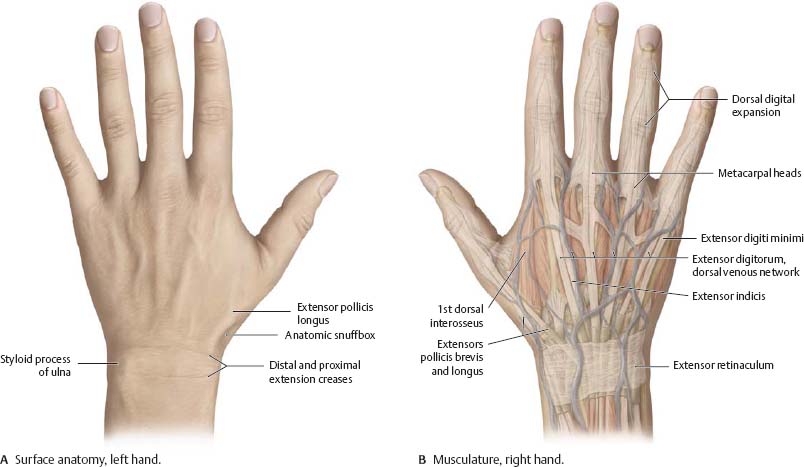

The first thing I had to do was sculpt the shape of the hand before dynameshing it to add detail, including the fingers, palms and back hands.


I had to sculpt the fingernails on each of the fingers like this.

Then the knuckle lines of each finger, both front and back.

I did the sculpting on one hand basically. All I had to to was mirror the subtool and position it on the other side of the body.
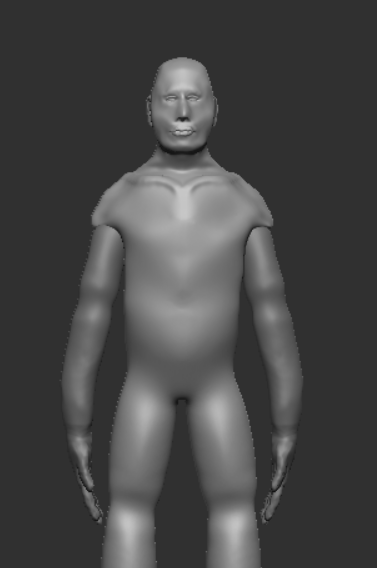
I would adjust the arms later, merging and dynameshing them with the rest of the body.
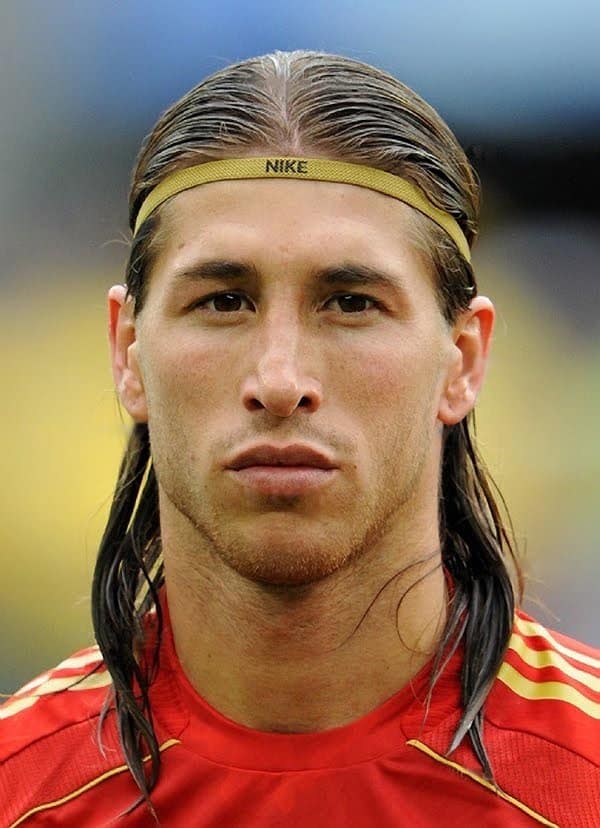
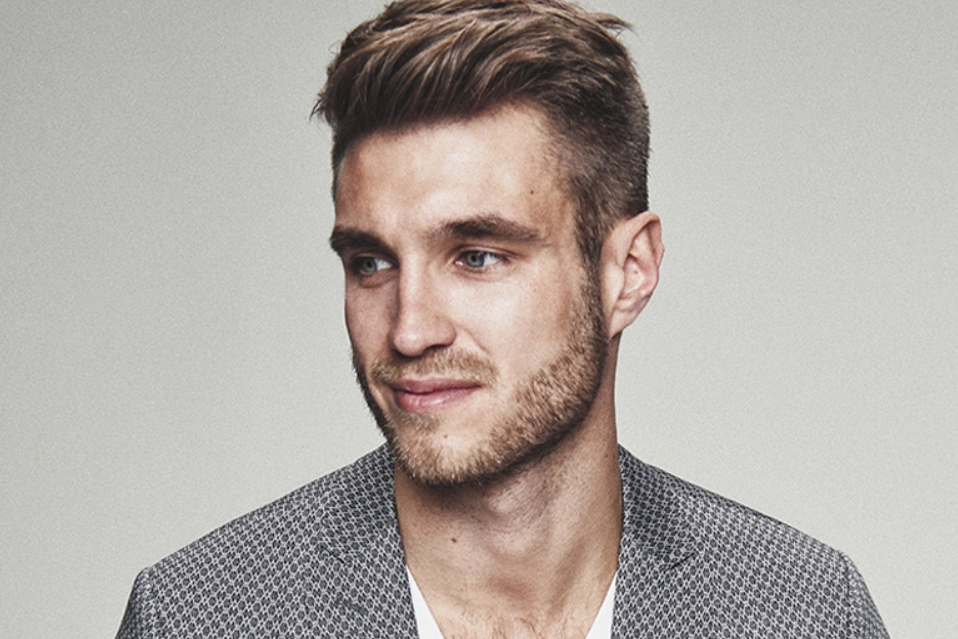
Hair
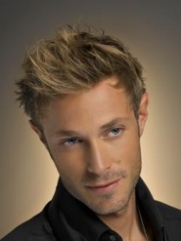
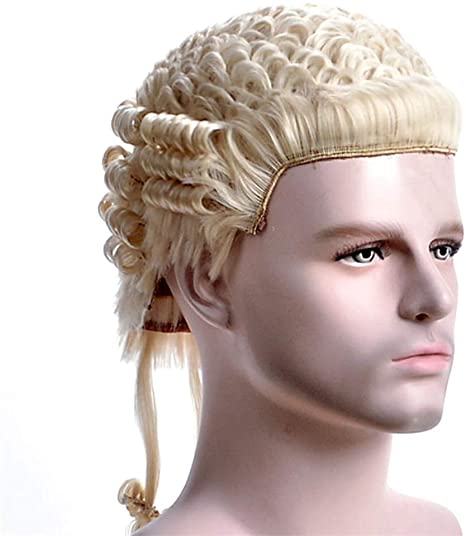
Now it’s time to add some hair onto my character. I figured I would take some inspiration from a few of these and attempt to combine them into one hairstyle if all goes well.
I downloaded a custom hair brush that will help me sculpt the character’s hair fairly easy and efficiently.

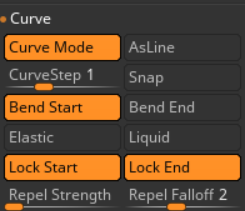
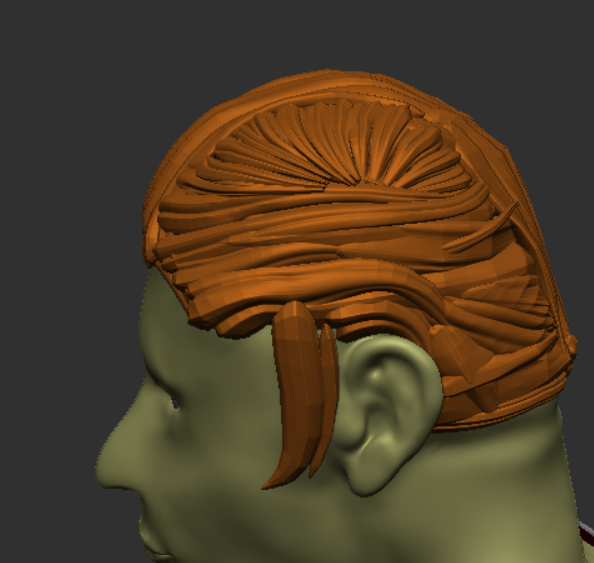
Upon sculpting the hair stroke, the strand starts off way smaller compared to end, so I had to modify the curve in the stroke panel.
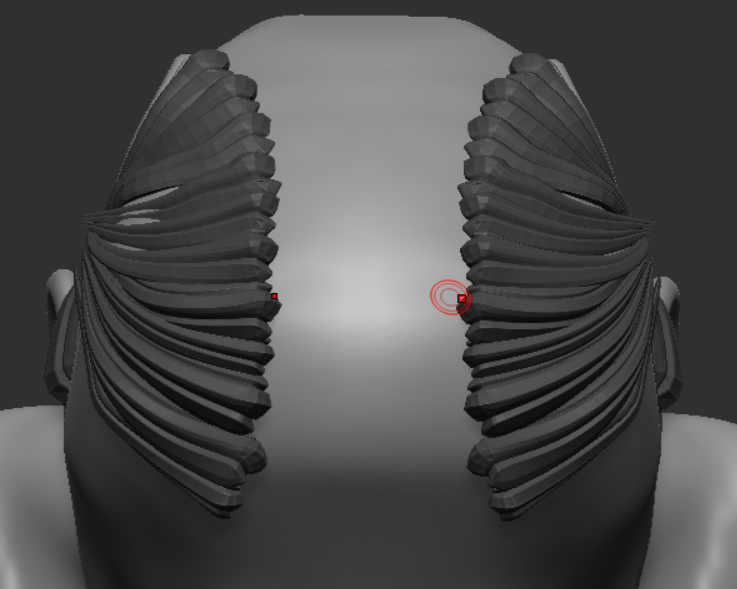
Now when I select a stroke, the hair looks better. I ensured myself to cover the top half with multiple strands of hair to make the mesh look good.


I also made the hair its own separate subtool for polypainting later.

Accessories
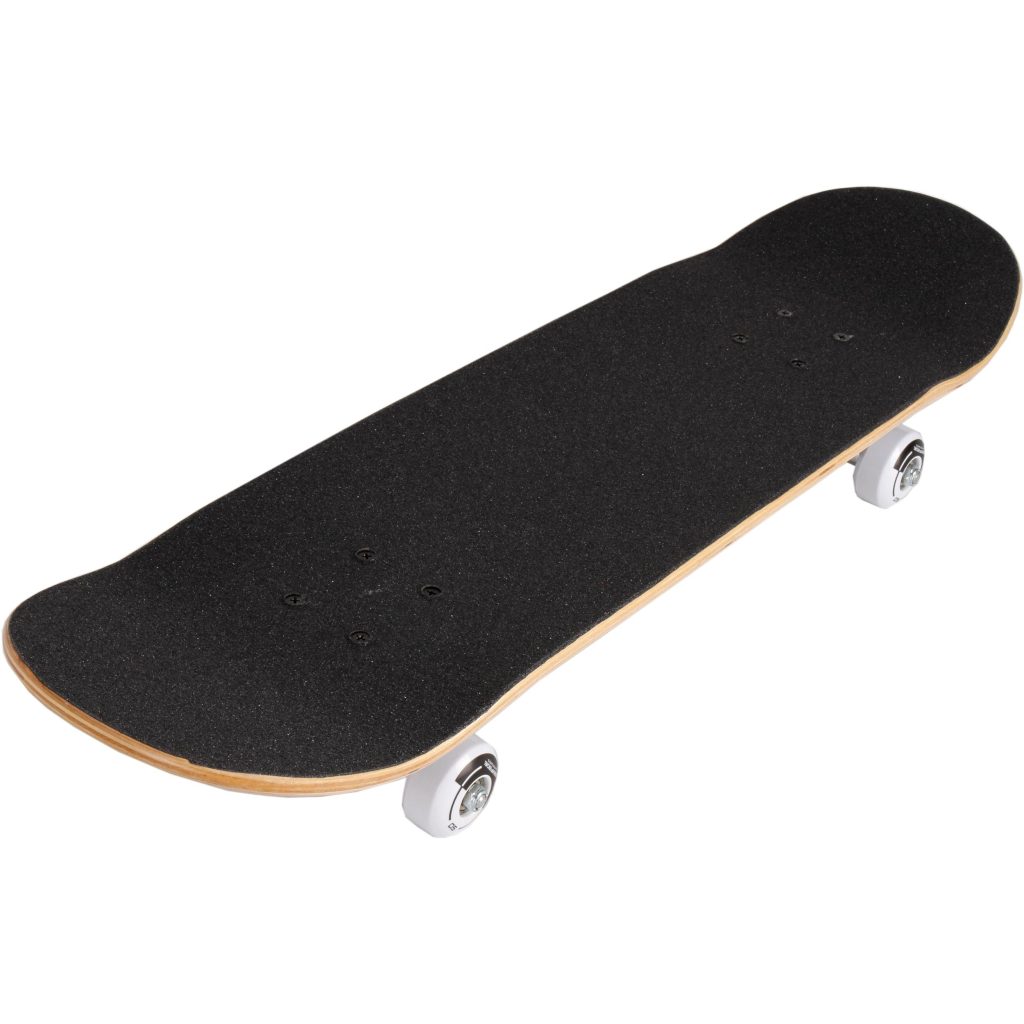
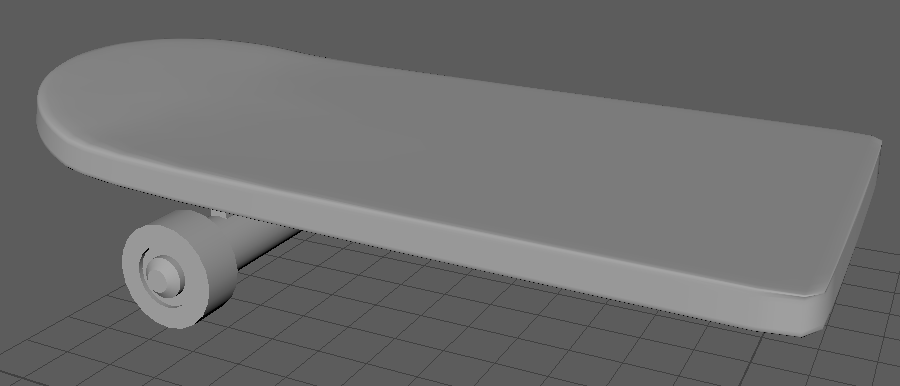
For the accessories that my character will be holding, I settled for a skateboard to carry around and ride on. I gathered up an image to take some influence from when making my own skateboard.
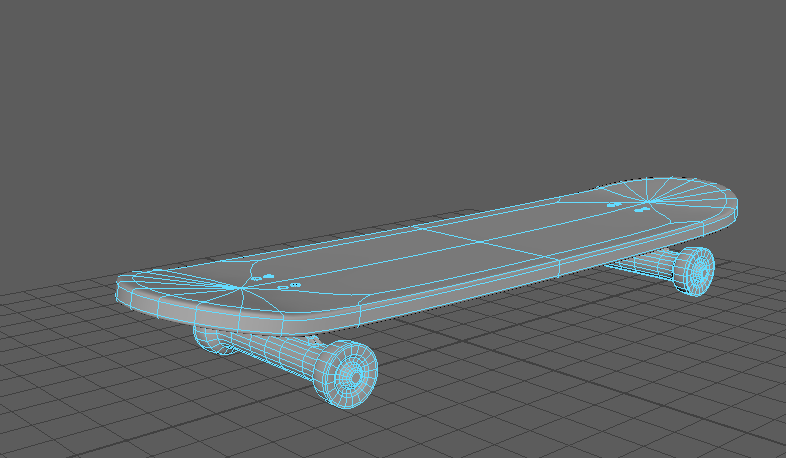
I used Maya to model the skateboard since I’m more skilled than using ZBrush’s Zmodler feature. I documented the progress of the skateboard as I go along.
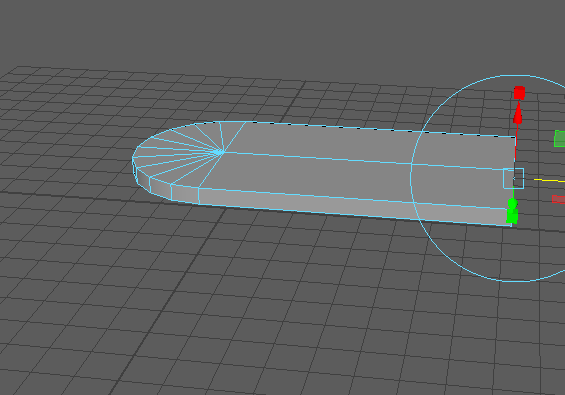
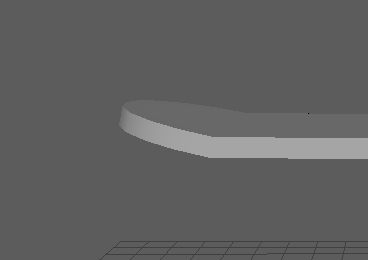
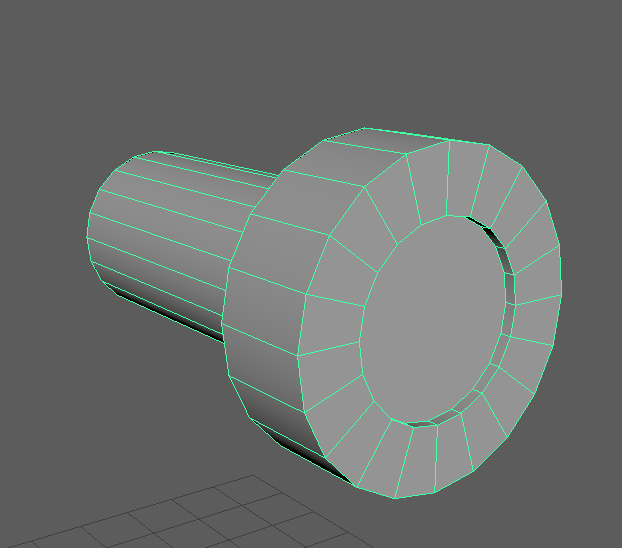

I mirrored the wheel on one side and combined the objects together to smooth and mirror the other side of the board, like so.
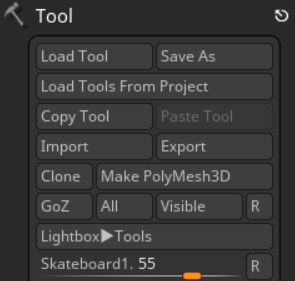
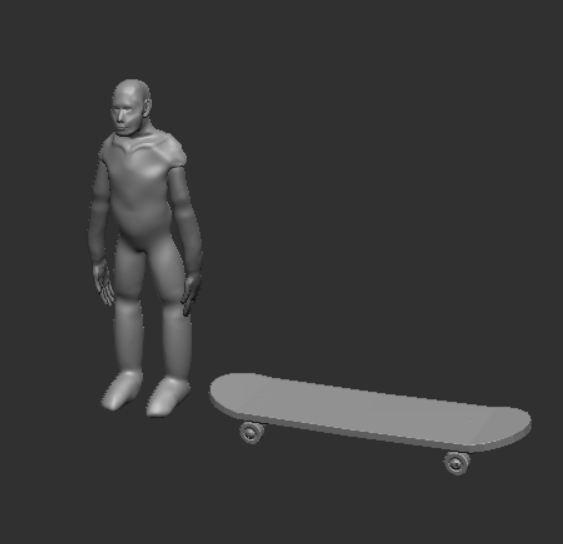
Now all I had to do was export the model as an FBX and import into ZBrush, like so.
Clothing/Topology
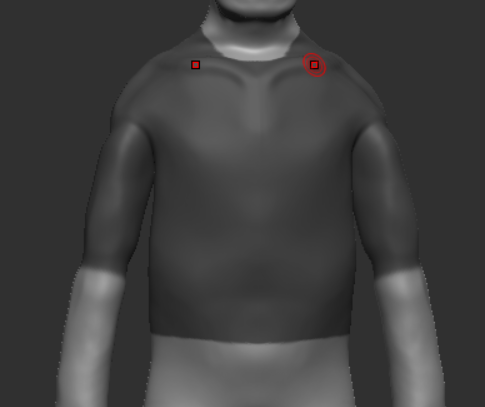
I will take the clothing influences from Part I and use the extract function to create some simple clothing for my character. I masked out the area for the T-shirt to extract a new polygroup from.
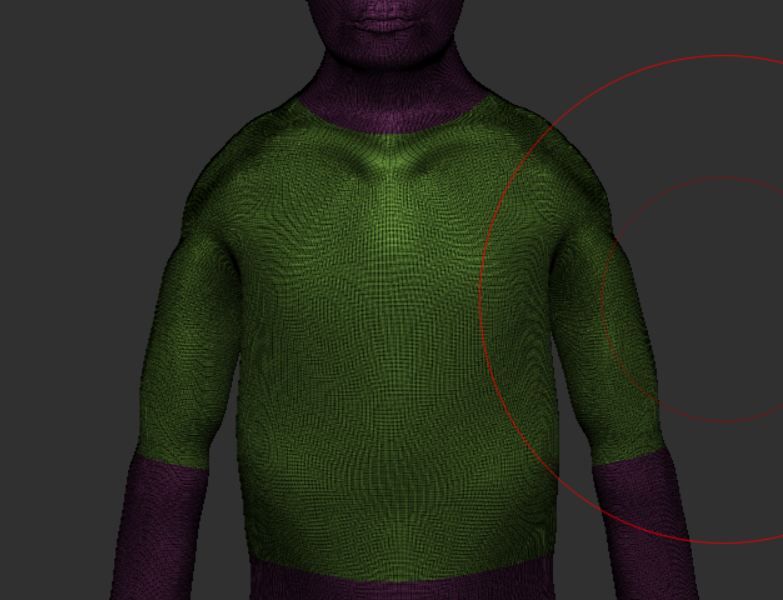
I had to clean out the neck area of the T-shirt by navigating to GroupLoops in the Edge Loops panel and ZRemesh the model to get a clean topology.

Now it was time to make the extractions. I carefully repeated the process but made the extractions its own subtool to clean out before merging it with the shirt.
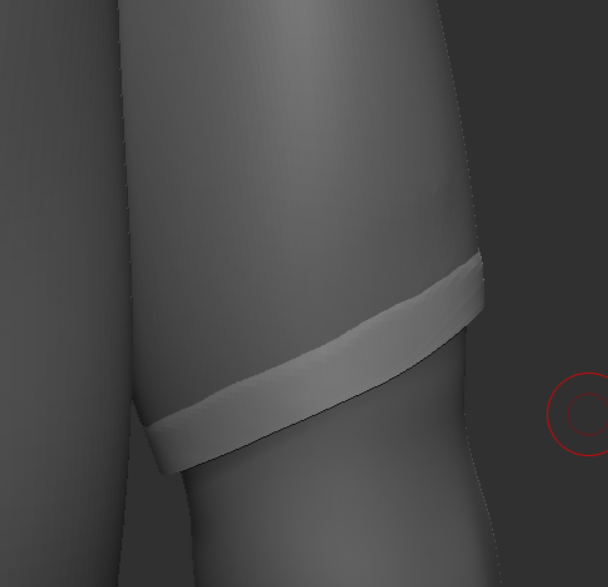
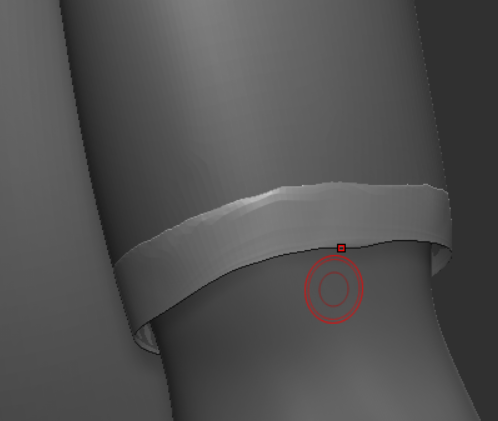
I repeated the process of masking out the areas for the shoes and jeans in which the character will be wearing, like so.

I cleaned out some of the messy geometry in the neck area of the shirt, like so.
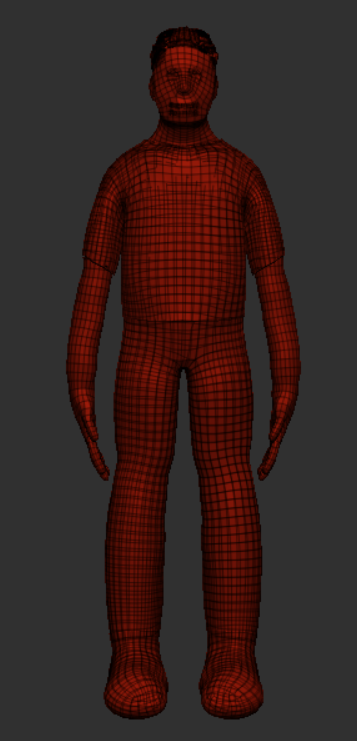
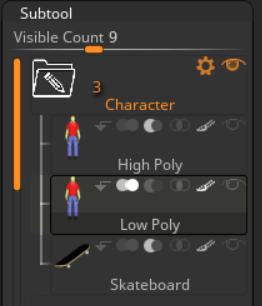
For the topology, I duplicated the model to distinguish itself from High Poly to Low Poly, and I ensured myself to adjust the lips slightly beforehand so it looks more natural.
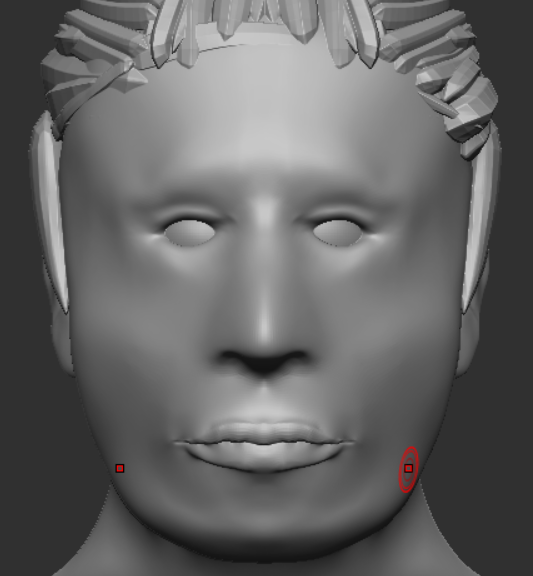
From there, I draw some ZRemesher guides around the key areas of the faces so that the topology would wrap around them, like this.
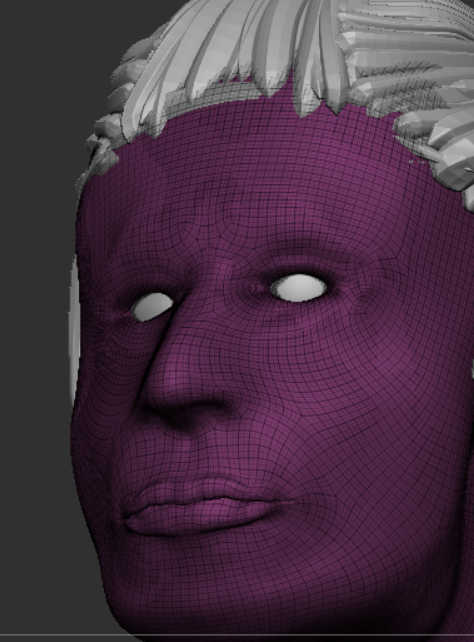
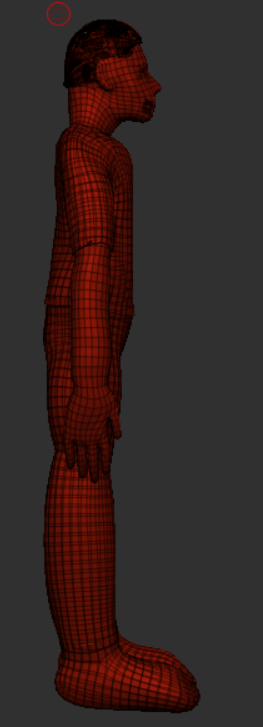
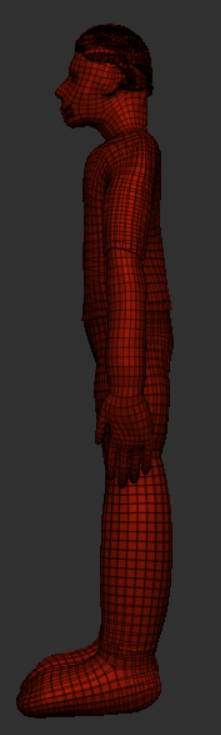
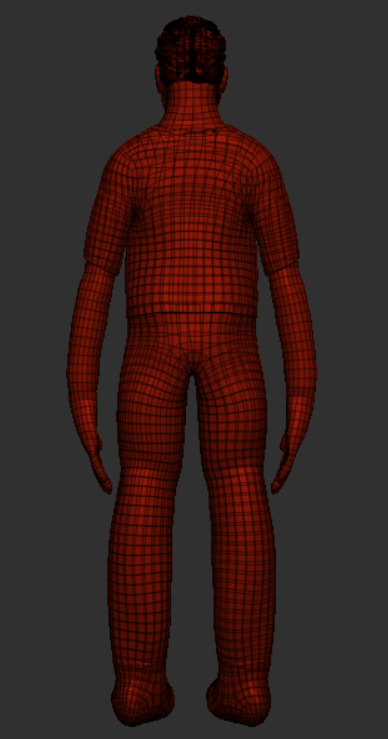
The following orthographic topology examples are before I adjusted the mouth area.
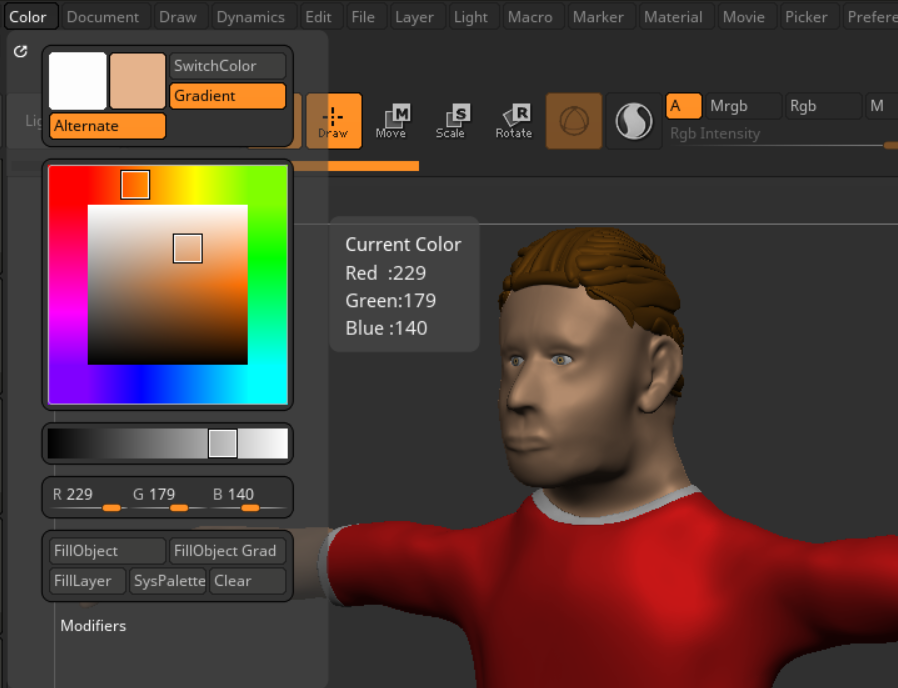
Polypainting
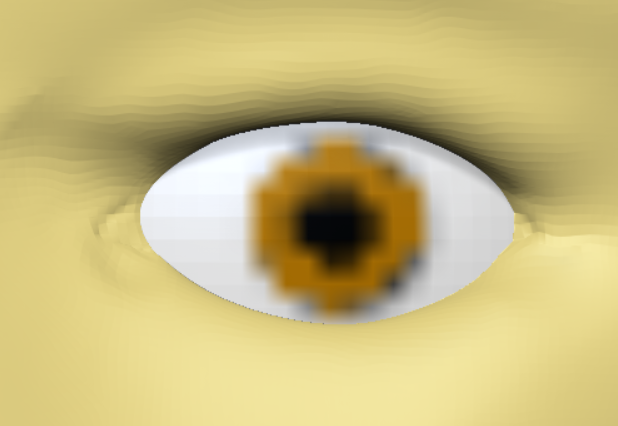
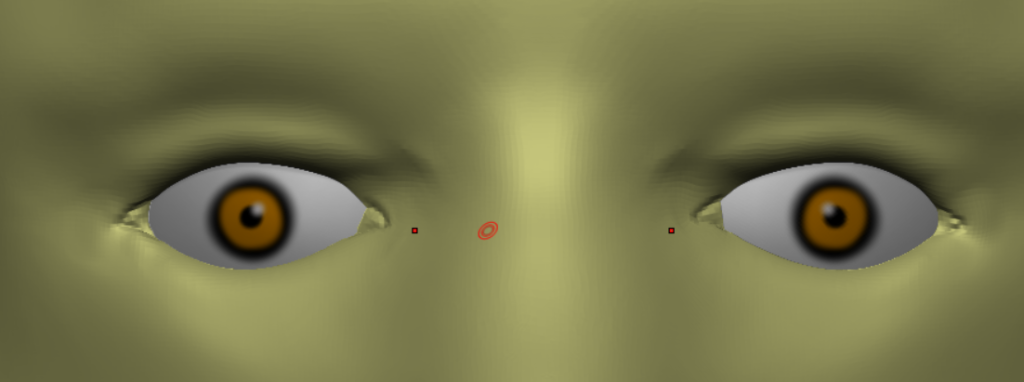
The last thing before rigging the character was to polypaint the entire body, so I got to work starting with the colour of the skin. After that, I had to colour the eyes on both the low poly and high poly versions of the character to get a desired result.
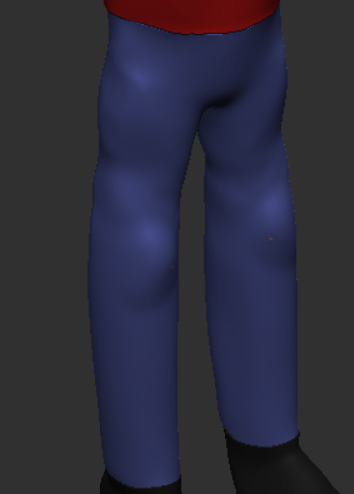
Now it’s time to colour in the remaining subtools, starting with the jeans.
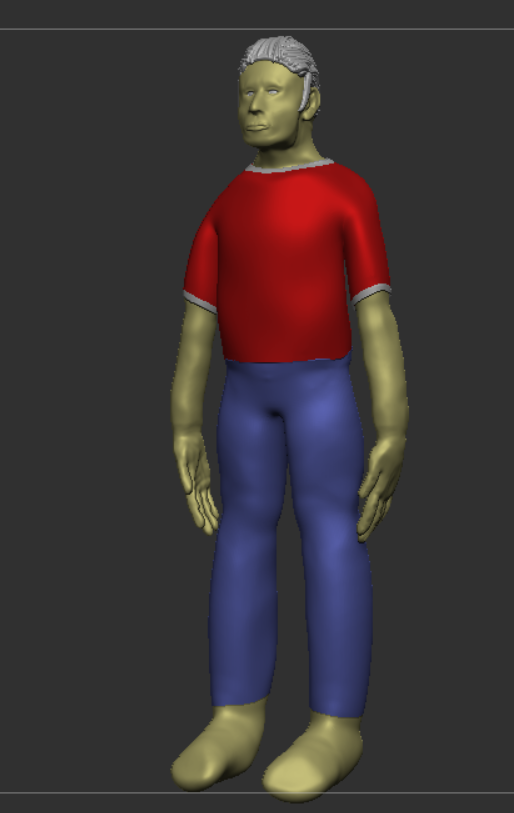


I decided to change the skin tone from a cream to a natural skin colour to finish it off.
Rigging
It’s time for me to put this guy into a T-pose for rendering. I ensured to go into Transpose Master > ZSphere Rigging since it’s much quicker and more efficient
Before I did that, I split the HP and LP characters into its own subtools, like so.
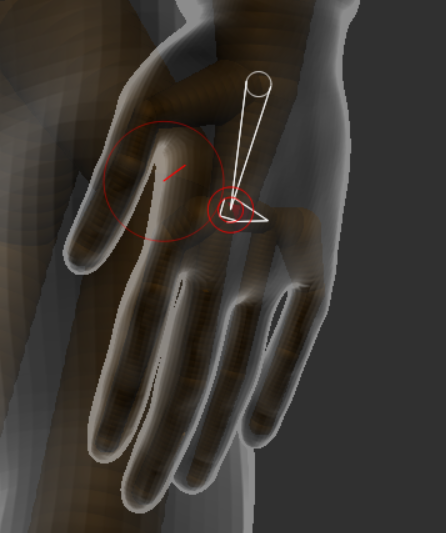
I basically positioned the ZSphere into the center of the mesh and started to make the skeletal parts of the rig, like so.
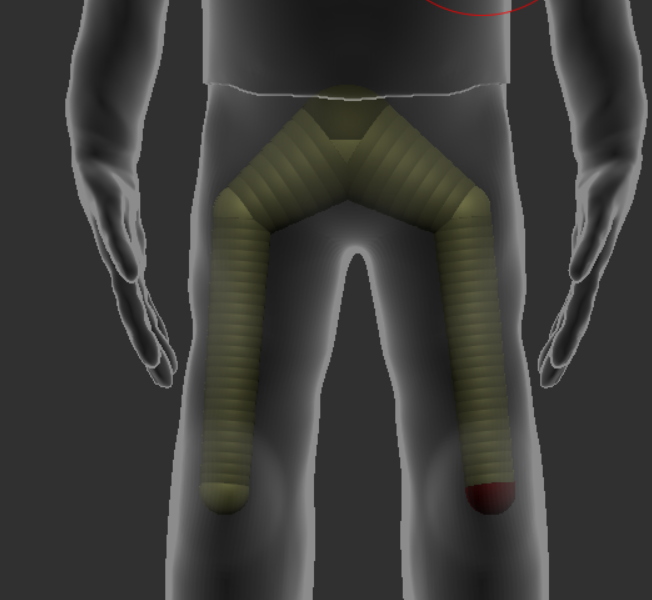
I had to carefully position the rig so that it wouldn’t overlap with the outlines of the hands and fingers, like this.
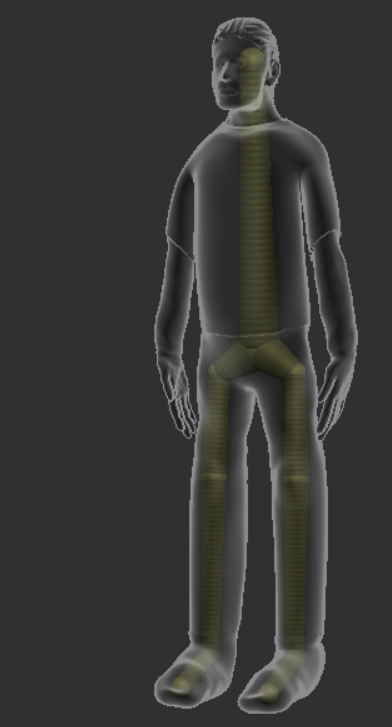
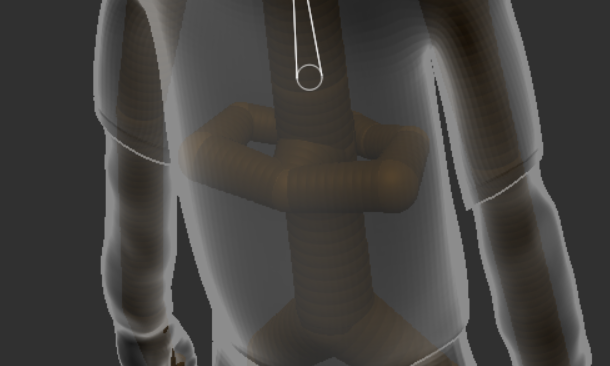
And I had to make the Rib Cage so the torso wouldn’t move with the arms.
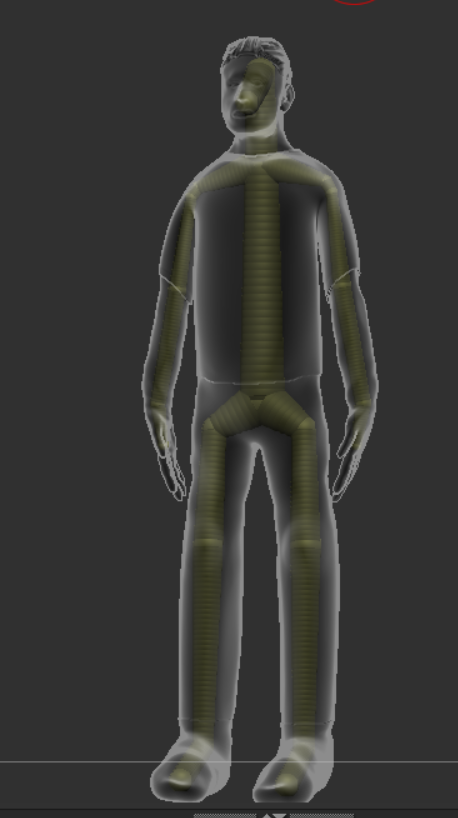
And here is the full skeletal rig, which I used to pose the character into a T-pose.

Turntable Render
Evaluation
Looking back, here are some areas of improvements I can consider in the future. The shape of the face is something I have to work on, since the final shape isn’t as round as I hoped it would be. I need to consider smoothing some of the skin out for next time, particularly the arms and the legs. I will keep that in mind for next time I’m working in zBrush.