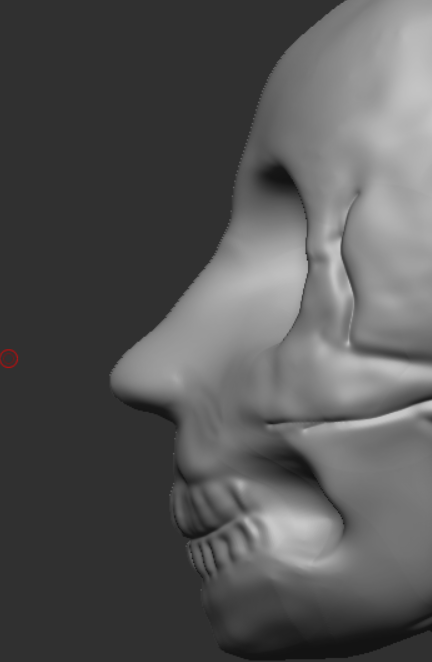
It was time for me to add the facial features to the character. I’ve used some reference images to guide me into making each aspect of the face, starting with the general head shape.
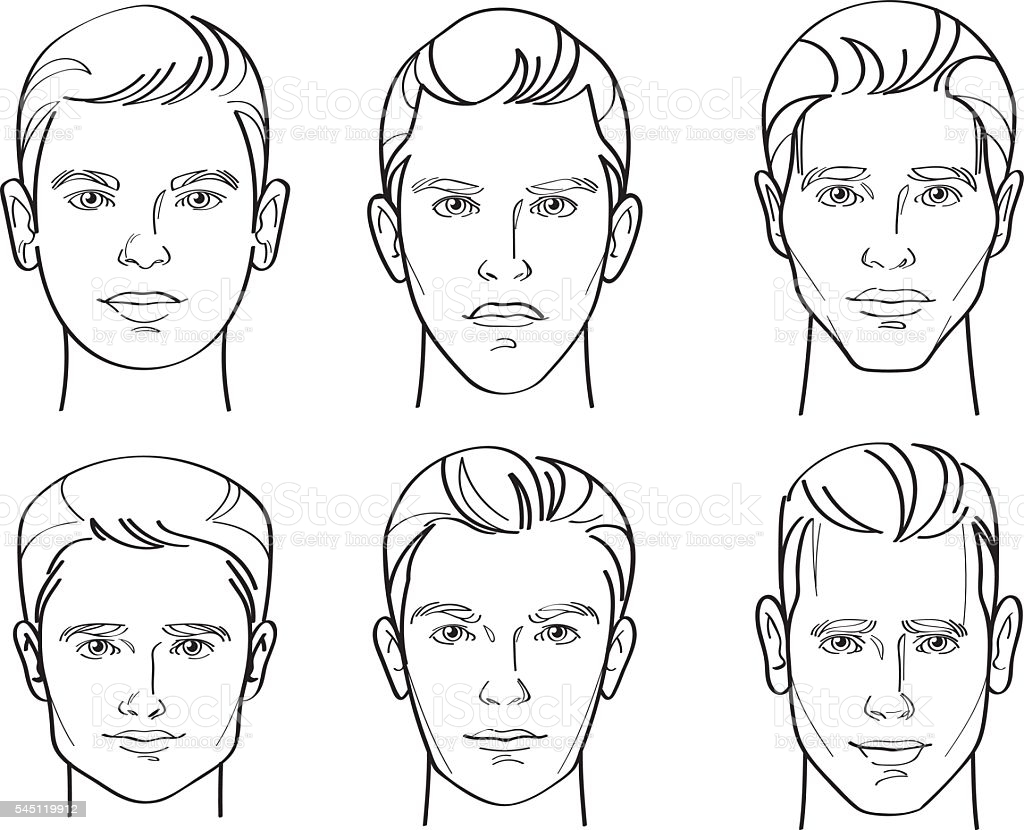
I can choose from a variety of different face shapes, but I have chosen to settle on a round face shape and try to implement that into my ZBrush sculpt. The image below is an example of how round the face should be.

Nose
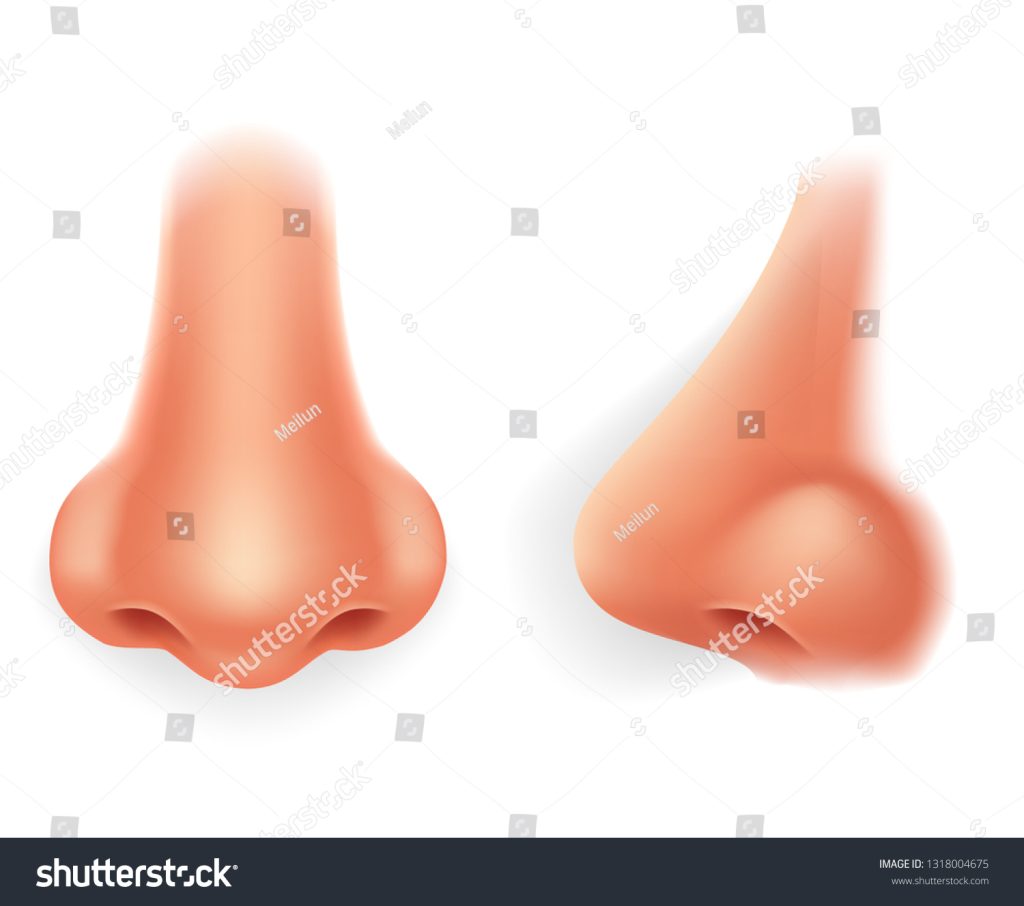
The first step was to think about what the nose would look like, as it’s the most defining feature of the face. I decided to go with a standard round shape to match with the head shape.
I started to pull out the nose area slightly to make the general shape of it, like so.
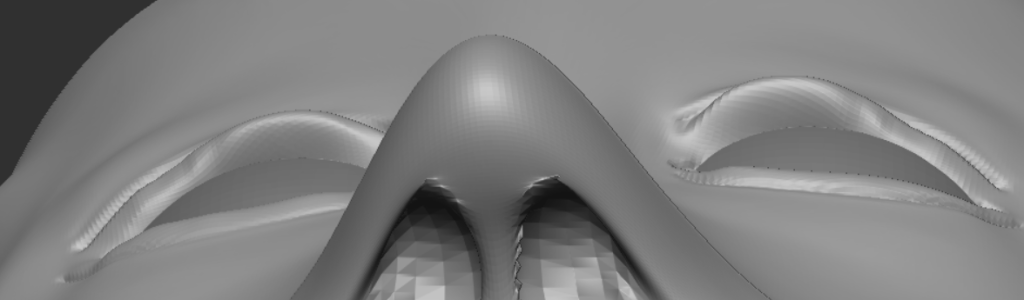
And after adjusting the nostril area a bit, I masked out the area and inverted it and made a hole using Inflate + ALT.
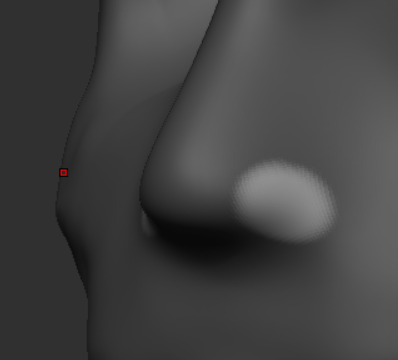
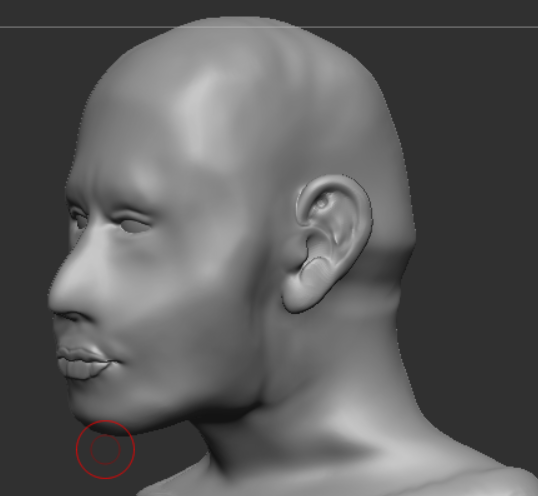
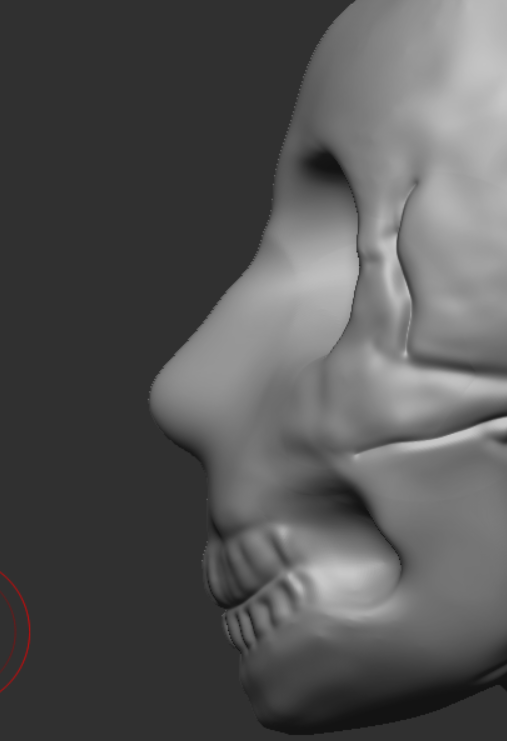
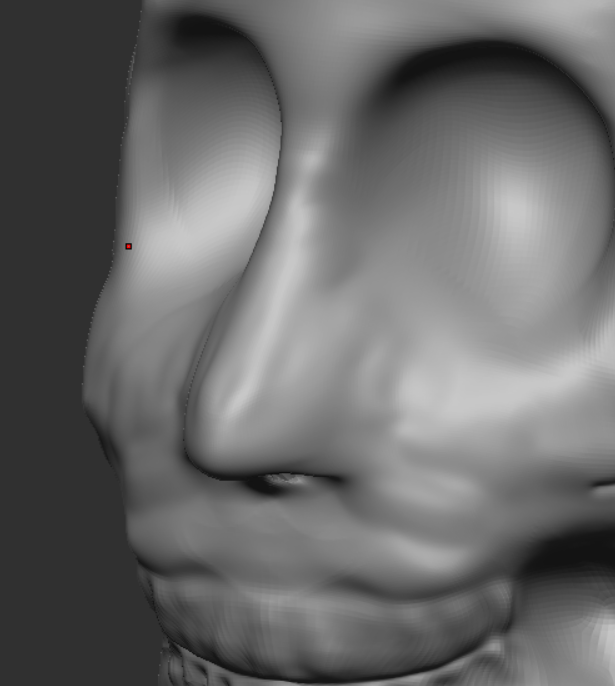
Looking at the side, you can see the nose point getting a bit better, but merely needed adjusting.
Moving it a little and making sure the nostrils and firmly equal from both side views should give me something like this.
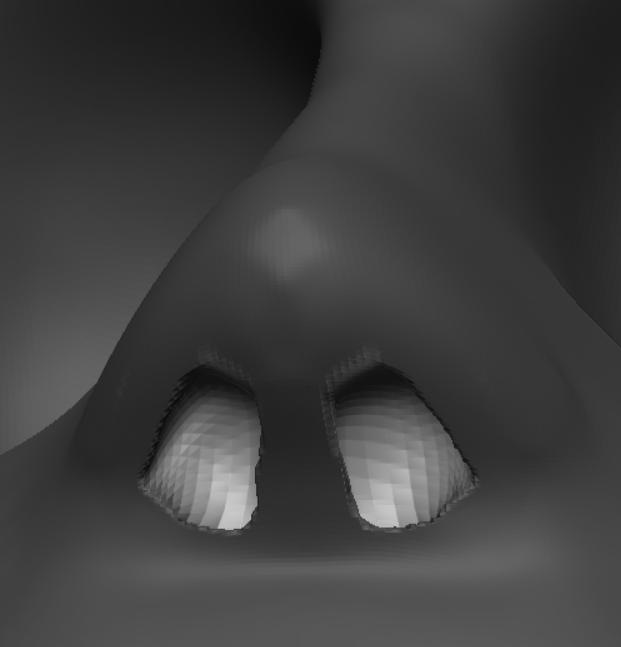
Here is a side view of the adjusted nose from both sides.

Eyes
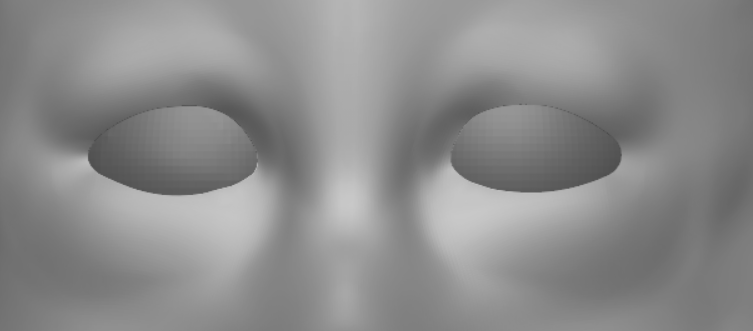
It’s time to look how the eyes will be sculpted. Notice how in these images, there’s a defining line between the eye and the eyebrow that can be useful to pin-point my sculpted eyes onto the character.


To get a general idea of where to sculpt the shape of the eyes, I inserted an eye subtool, mirrored it and put them where they should go.
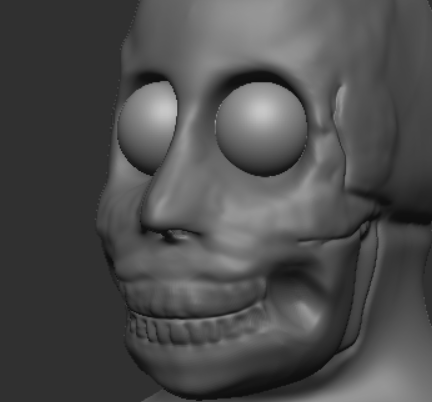
I had to sculpt in the areas around the eyes so they look natural and more like this shape in the image below.
I noticed when looking back that my symmetry was not in the right position. All I had to do was correct it was change the Offset in the Deformation panel here.

Now I had to define the top part of the eyes between the eyeballs and the eyelids using the DamStandard brush to get a rough shape. I can always refine this with the move tool if I’m not satisfied.
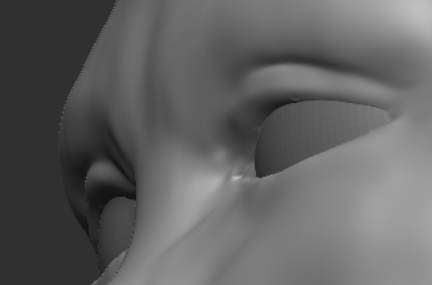
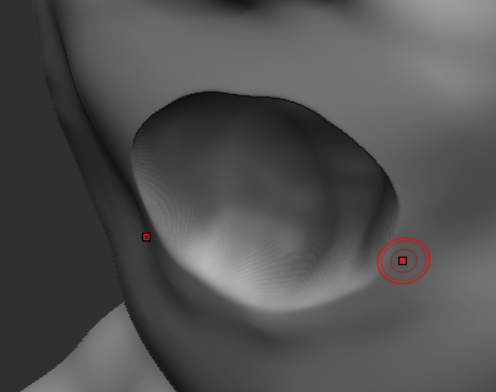
You can see how I added details into the eye sculpt like the tearduct and the plateau towards the bottom of the eyelids.
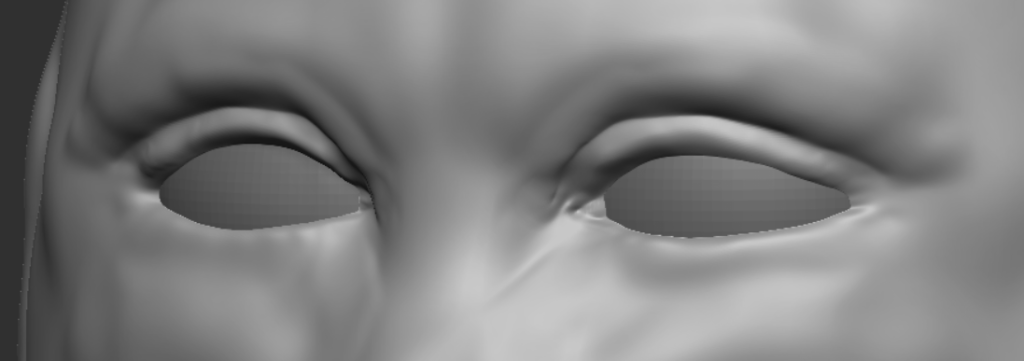
I had to inflate the bottom part of the eye plateau so that it would be sticking out just a little. Looking at it from the bottom gives me an idea of how to approach this.
Mouth
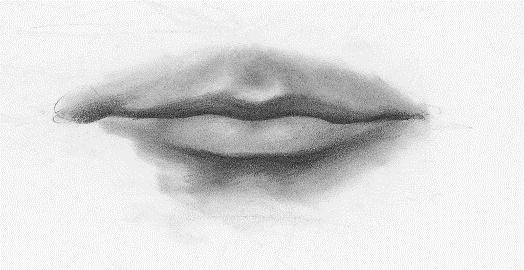
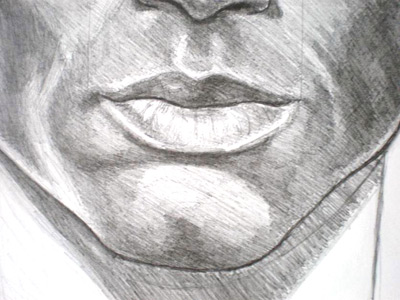
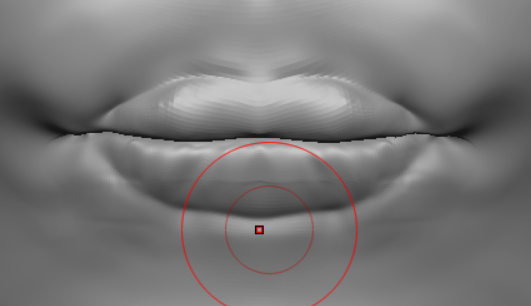
Before I could begin with the mouth and lips, I had to get an idea on what they would look like, hence the reference images.
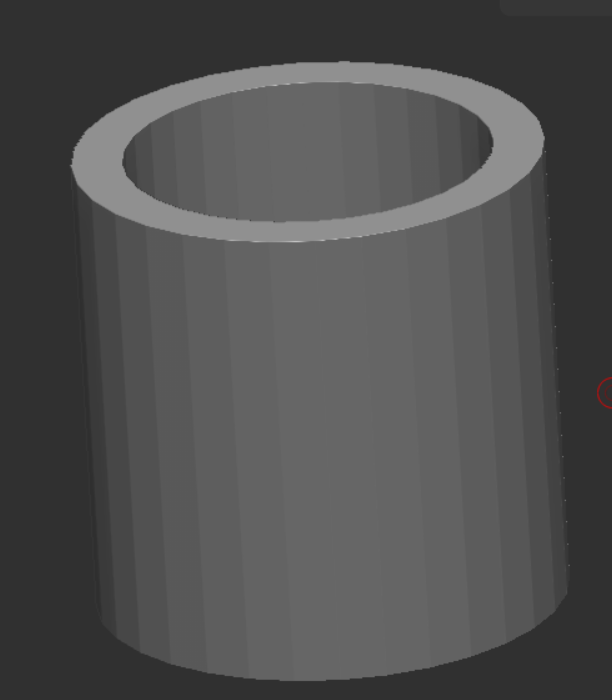
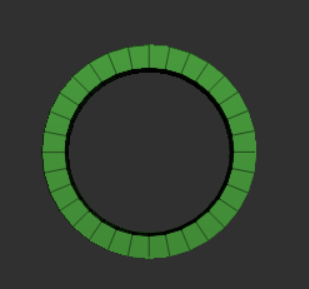
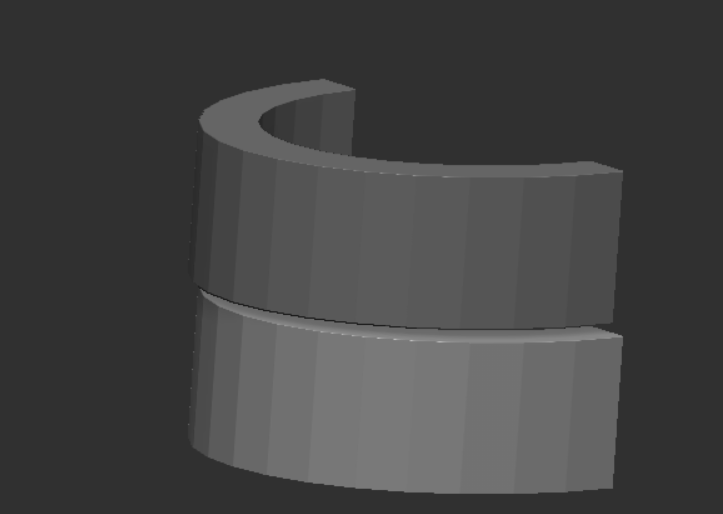
I needed to sculpt some teeth first before I could insert them into the mouth, so I get to work with a cylinder and created a hole to be like this.
And scaled it down to a comfortable size before eliminating the back portion and duplicating it, like so.

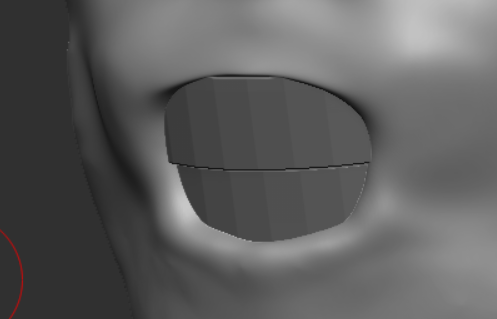
I had to sculpt out a large part of the mouth to fit the teeth in. This is where the lips will be sculpted.
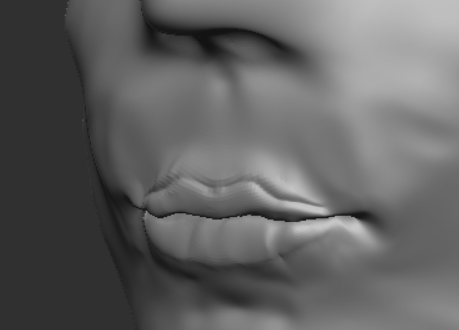
The hardest part about this was moving the edges to shape the mouth, and then detailing the lips to make it feel natural to a human as I can get.
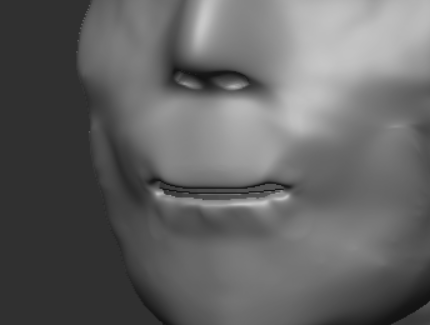
The first attempt at sculpting the lips will always look bad, but over time I adjusted them to look even more natural.
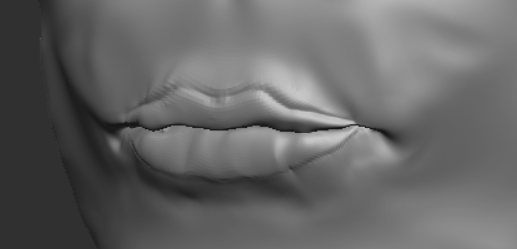
I adjusted the lips and the definitions for them to be more in line with the reference images, like so. I can always go back and fix some stuff later.
Ears
The final feature are the ears. I quickly gathered up a vector image of what they should look like for me to sculpt on my character.
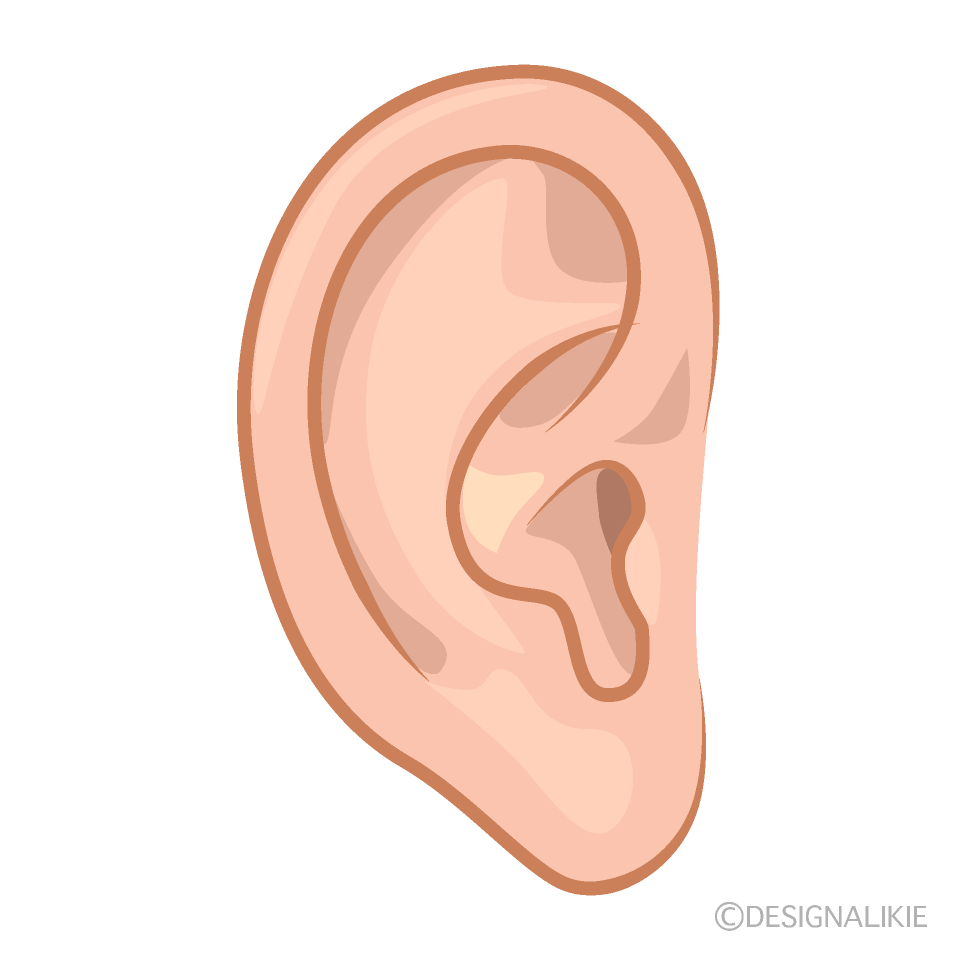
Pulling the ear shape outwards, I turned symmetry on and started to sculpt out the defining areas of the ear, including inflating the helix and defining the trigus and antitrigus.
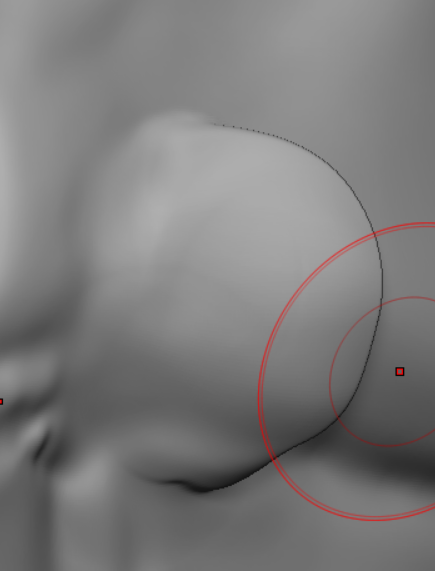


You can see the ears looking good where they should be placed on my character.